

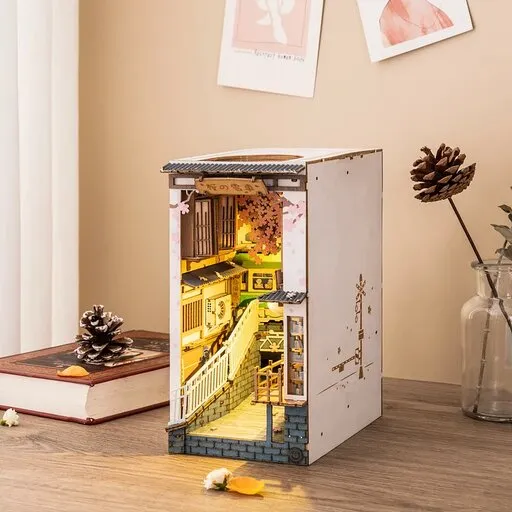







You do not have to build a big model in one go, but choose your break by the manual, not by the clock. The safest point to stop is at the end of a numbered step or when you finish a separate unit that the manual assembles on its own, for example the chassis, the roof or one group of gear wheels. Do not stop in the middle of a joint or a mechanism: the half-built part can stay under tension, and on the next evening you will not know which piece is already seated.
Before the first evening, leaf through the whole manual and mark with a pencil the places where one unit ends. That way you see in advance roughly how many evenings the build will take and how far you want to get in each of them. At the end of every evening, write down the last finished step, take a photo of the model and put the loose pieces away so that you find them next time without searching.
Contents of the article
Where in the manual is a safe place for a break
A safe place for a break is one where the model stands on its own, you are not holding anything in place by hand, and the next step starts with a new group of pieces. The manual shows you such places itself; you just have to look for them.
- The end of a numbered step. When a step is finished and the next one starts with pieces from another board or bag, you can stop. Before you leave, compare the model with the picture of the step: if it matches, the place is good; if not, find the difference that same evening.
- A finished separate unit. Many manuals assemble some parts separately and only then join them to the model, for example the wheels, the roof or the gearbox. When you finish such a unit, it is a natural boundary between two evenings.
- A mechanism tested before it is covered. If the manual asks you at some step to turn the wheels or test the movement, do it that same evening. If it runs smoothly, you can stop; if it rubs, you know where to look while the mechanism is still accessible.
On the other hand, do not walk away from a joint that only holds while you hold it, from a piece pushed in halfway, or from a wall still waiting for its counterpart. Such a state can shift or bend by the next evening. And do not rush a step that cannot be undone, such as gluing, just to reach a nice place for a break: rather stop one step earlier. If you use glue, let it dry before moving the model as its manufacturer states.
How to store the pieces and the half-built part until the next evening
Between evenings you need to keep two things: no piece gets lost or mixed up, and nothing happens to the half-built part.
- Do not punch out pieces in advance. Leave the pieces you do not need yet in the board. The board keeps their order and numbers, and a small piece will not fall out of it.
- Put loose pieces away by the step in which you will use them. Put them in a bowl, a bag or a box with a lid and add a slip with the number of that step. Keep mirrored left and right pieces apart until you know which goes where.
- Do not throw away the leftover boards or the bags. The numbers and letters on them help you find a piece you would otherwise not recognise.
- Place the half-built part on a firm base. On a tray or board that you can carry as a whole, you do not have to pick the model up. Keep thin protruding parts away from the edge.
- Cover it loosely and give it a quiet spot. The cover must not press on thin pieces. Do not put the model in direct sunlight or near a heat source, do not place anything on it, and keep it out of reach of small children and animals.
Put the knife, tweezers and glue away from the model, so you do not have to search for them among the pieces on the next evening and so none of them falls onto the half-built part.
Tip: Take the photo at the end of the evening from the same direction from which the model is drawn in the manual. On the next evening you compare it with the model and the picture and see at once whether anything has moved.
How to mark where you stopped
The most common mistake after a break is to start one step off: to skip a step you did not finish or to repeat one that is already done. Three simple notes will help you.
- Tick off finished steps in the manual with a pencil. Tick only a step that is completely finished and matches the picture.
- Write down what you will start with next time. For example “step 18, start with pieces from board C”. If you stopped halfway through a step, write down what is still missing from it.
- Take a photo of the model. The photo shows how the model looked when you left, and when you come back you can compare it to check that everything is in place.
When you come back to the build, first read your note and compare the photo with the model. Then turn to the last ticked step and check whether its pieces are in place and turned as in the picture. If something has shifted or fallen out, fix it right away, before more pieces rest on it. Only then take the pieces of the next step and first try the new joint lightly; if it goes into the slot without force, continue; if it does not, compare the piece with the picture once more.
How much to build in one evening so it does not tire you
How much to build in one evening depends more on your attention than on the clock. A sensible length for one session is one to two hours, especially while you are getting used to how the model’s pieces fit together. Mistakes often happen at the end of a session, when attention drops.
From the stated assembly time you can estimate the number of evenings in advance. A model with a stated time of 5 hours works out at three to five evenings with sessions of one to two hours. If you are building a big model for the first time or it has a mechanism that needs fine-tuning, count on the upper end. How to estimate a model’s difficulty from its data is described in the article 3D puzzles for adults: what makes a model challenging.
It is also worth stopping earlier than you planned when you notice any of these signs:
- you are reading the same step for the second or third time and it still does not make sense,
- you feel like forcing a piece because it does not want to go into the slot,
- small pieces slip from your fingers or you have mixed up two similar pieces.
Then finish or carefully undo the last joint you started, put the pieces away and continue another time. With rested eyes you often find the mistake faster. If the mechanism still sticks after you come back, the way to find the point of friction is described in the article Sticking mechanism: how to find the friction and fix it.
Bigger models you can split over several evenings
If you are looking for a model worth splitting over several evenings, here are three with more than 650 pieces. The number of pieces, assembly time and difficulty come from the shop data; for your first big model, allow some margin.
Wooden mechanical 3D puzzle - Grain harvester GH800 Eco Wood Art is a model of a farm machine with moving parts. Wooden mechanical 3D puzzle - Gear Ball Challenge ROKR EGC01 is a track for metal balls with six levels and controls. Wooden 3D puzzle - Wooden bloom box ROWOOD TW02H is a box with several kinds of wooden flowers, for example a rose and a sunflower.
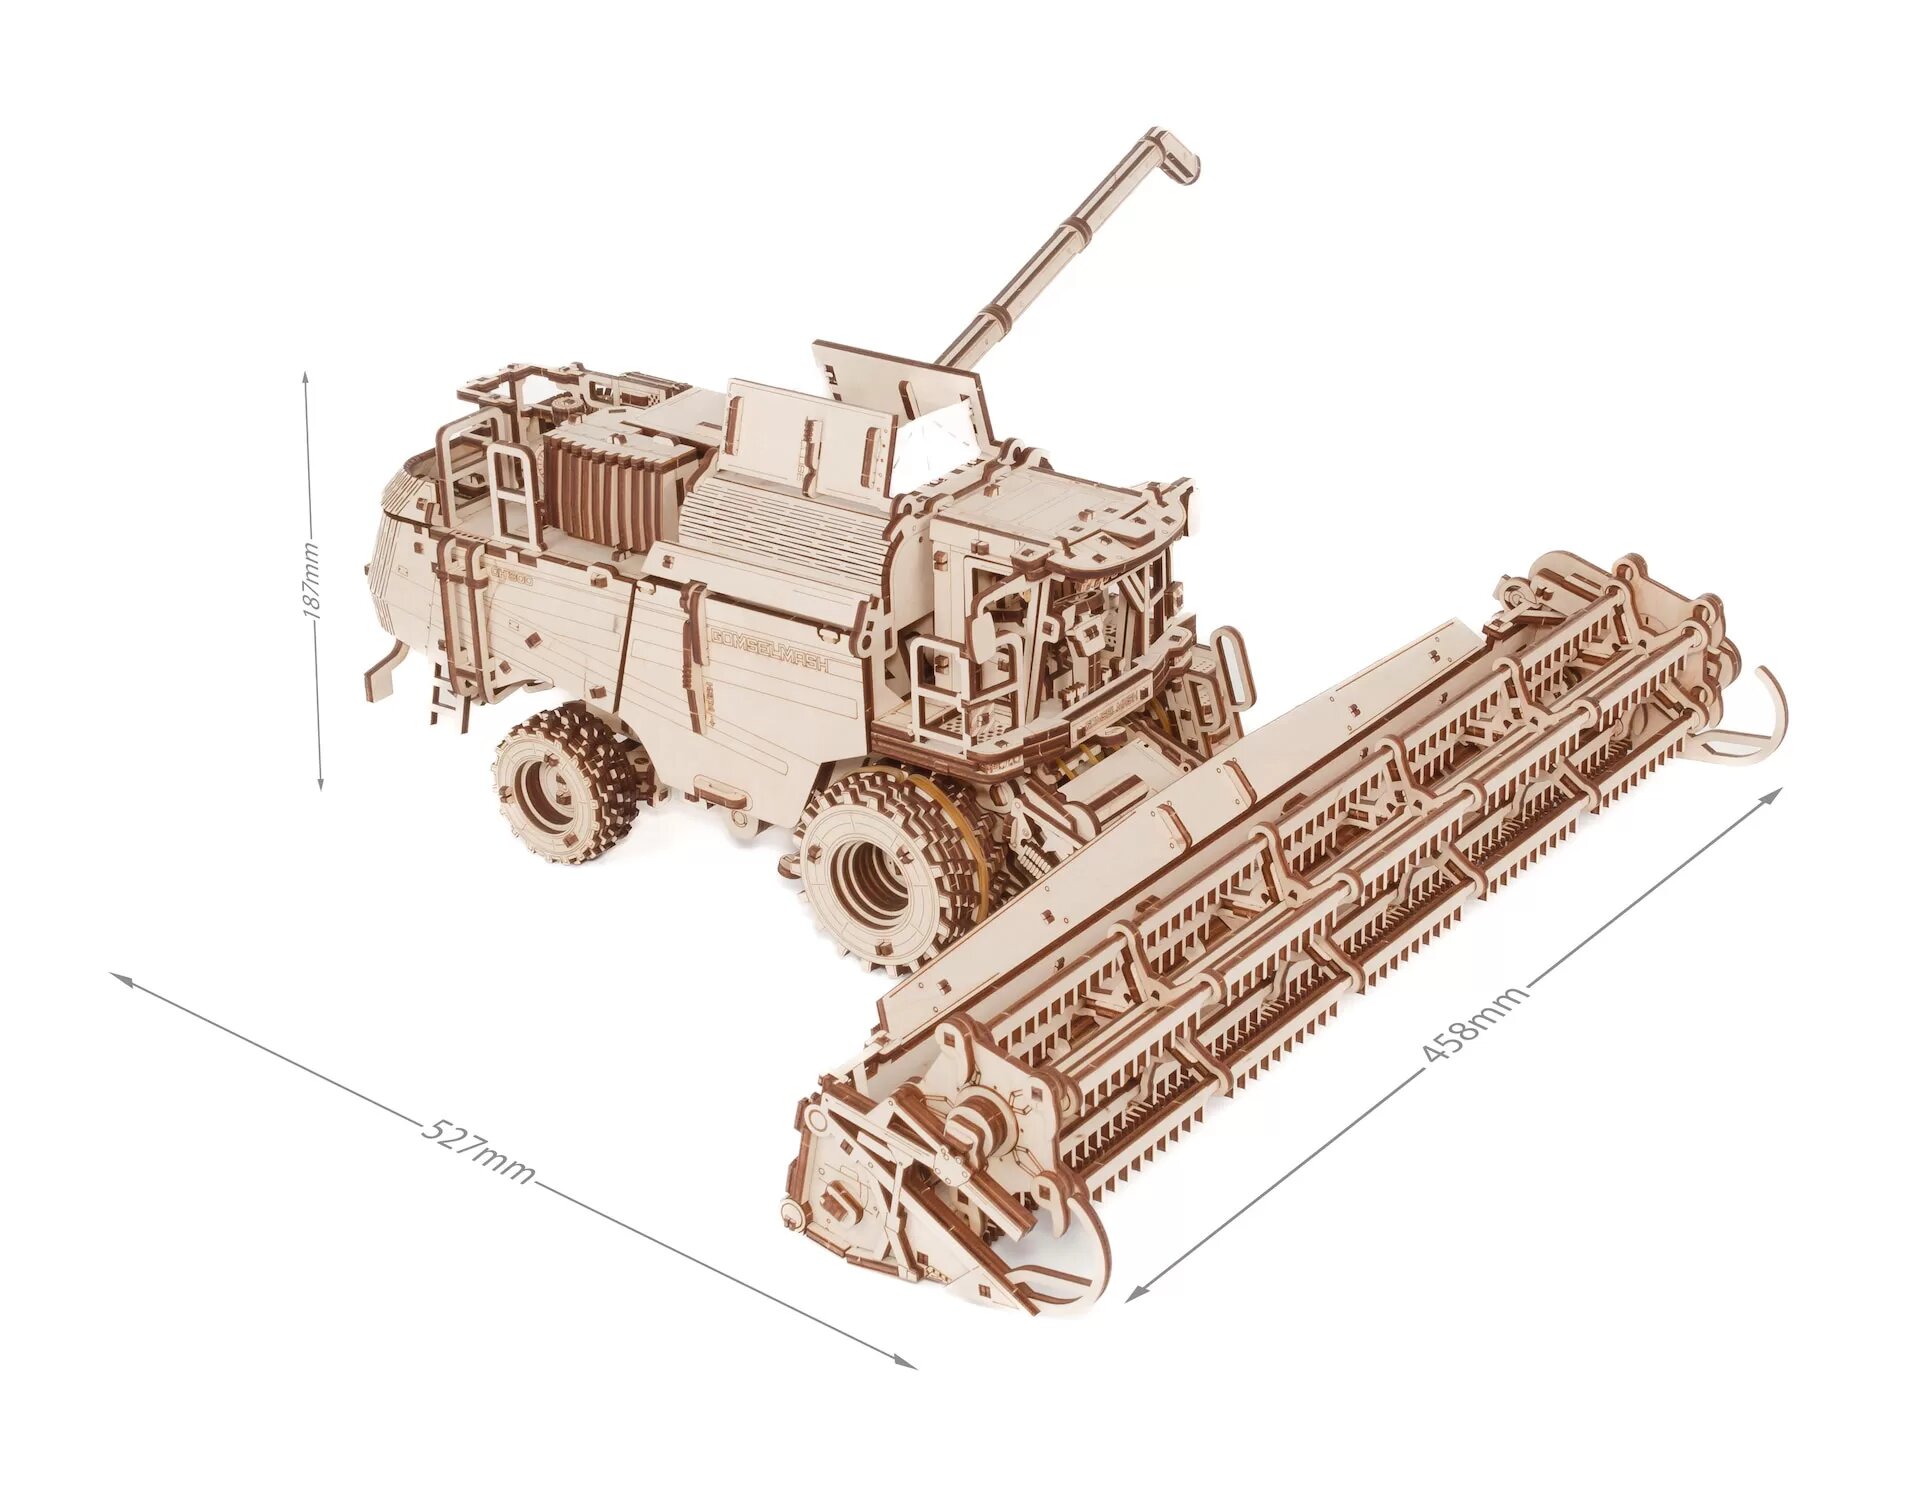
Wooden mechanical 3D puzzle - Grain harvester GH800 Eco Wood Art
- Number of pieces: 864
- Assembly time: 5 h
- Difficulty: 5
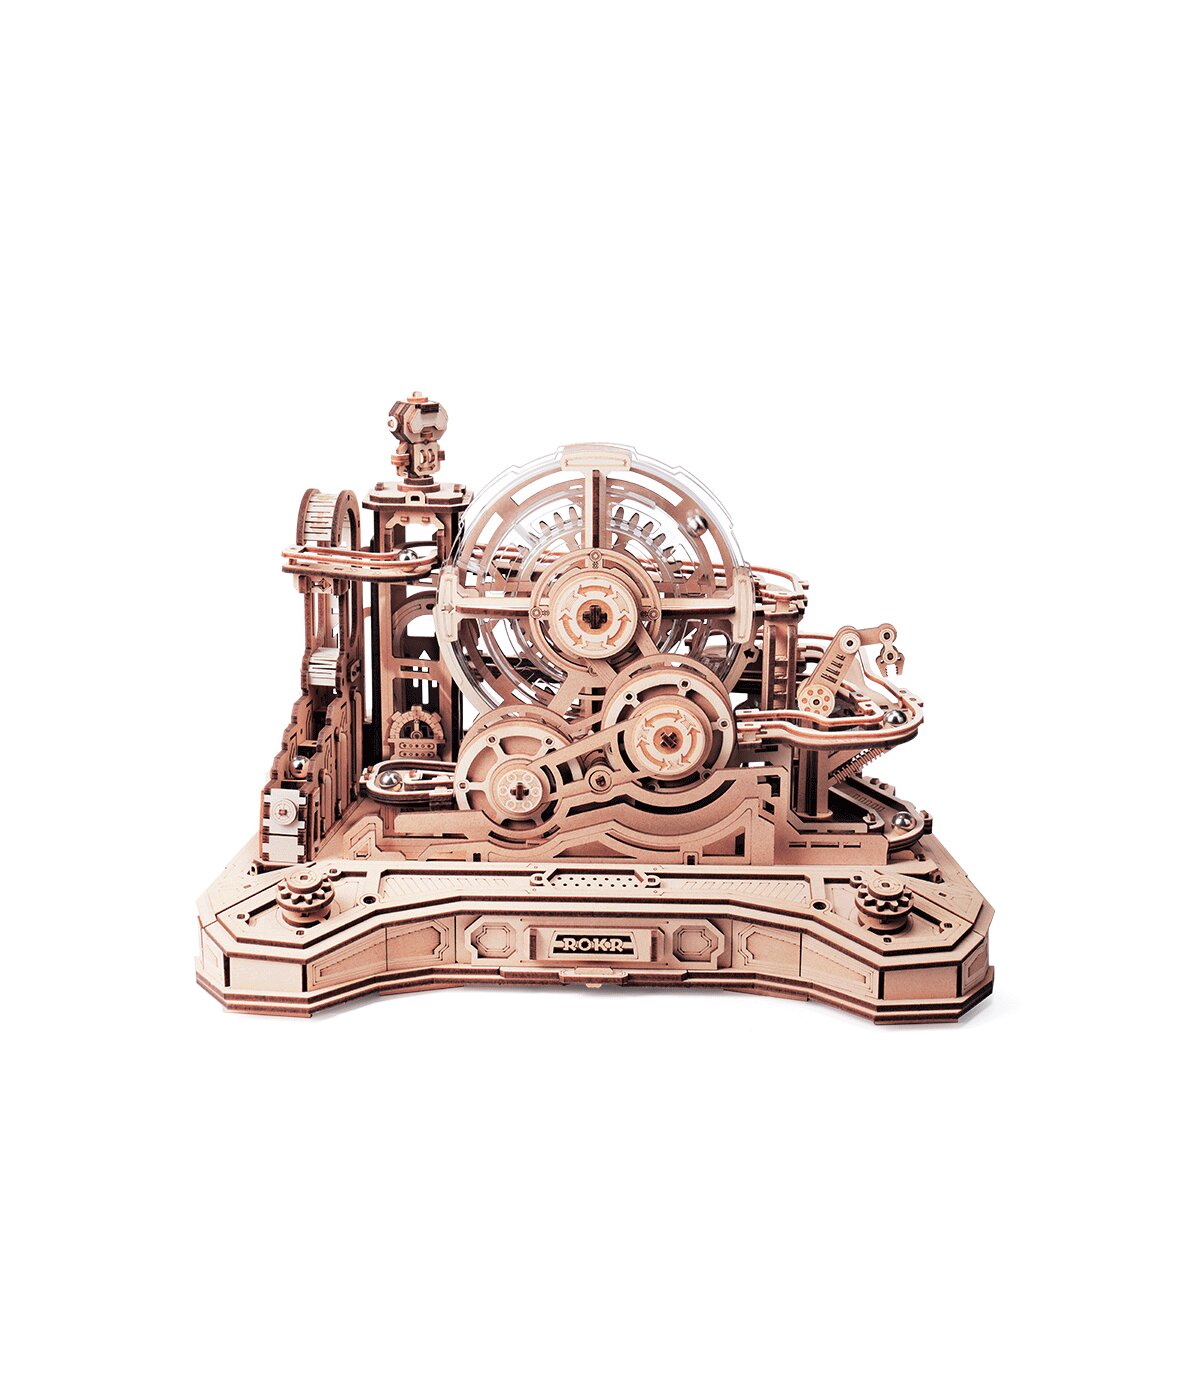
Wooden mechanical 3D puzzle - Gear Ball Challenge ROKR EGC01
- Number of pieces: 653
- Assembly time: 5 h
- Difficulty: 4
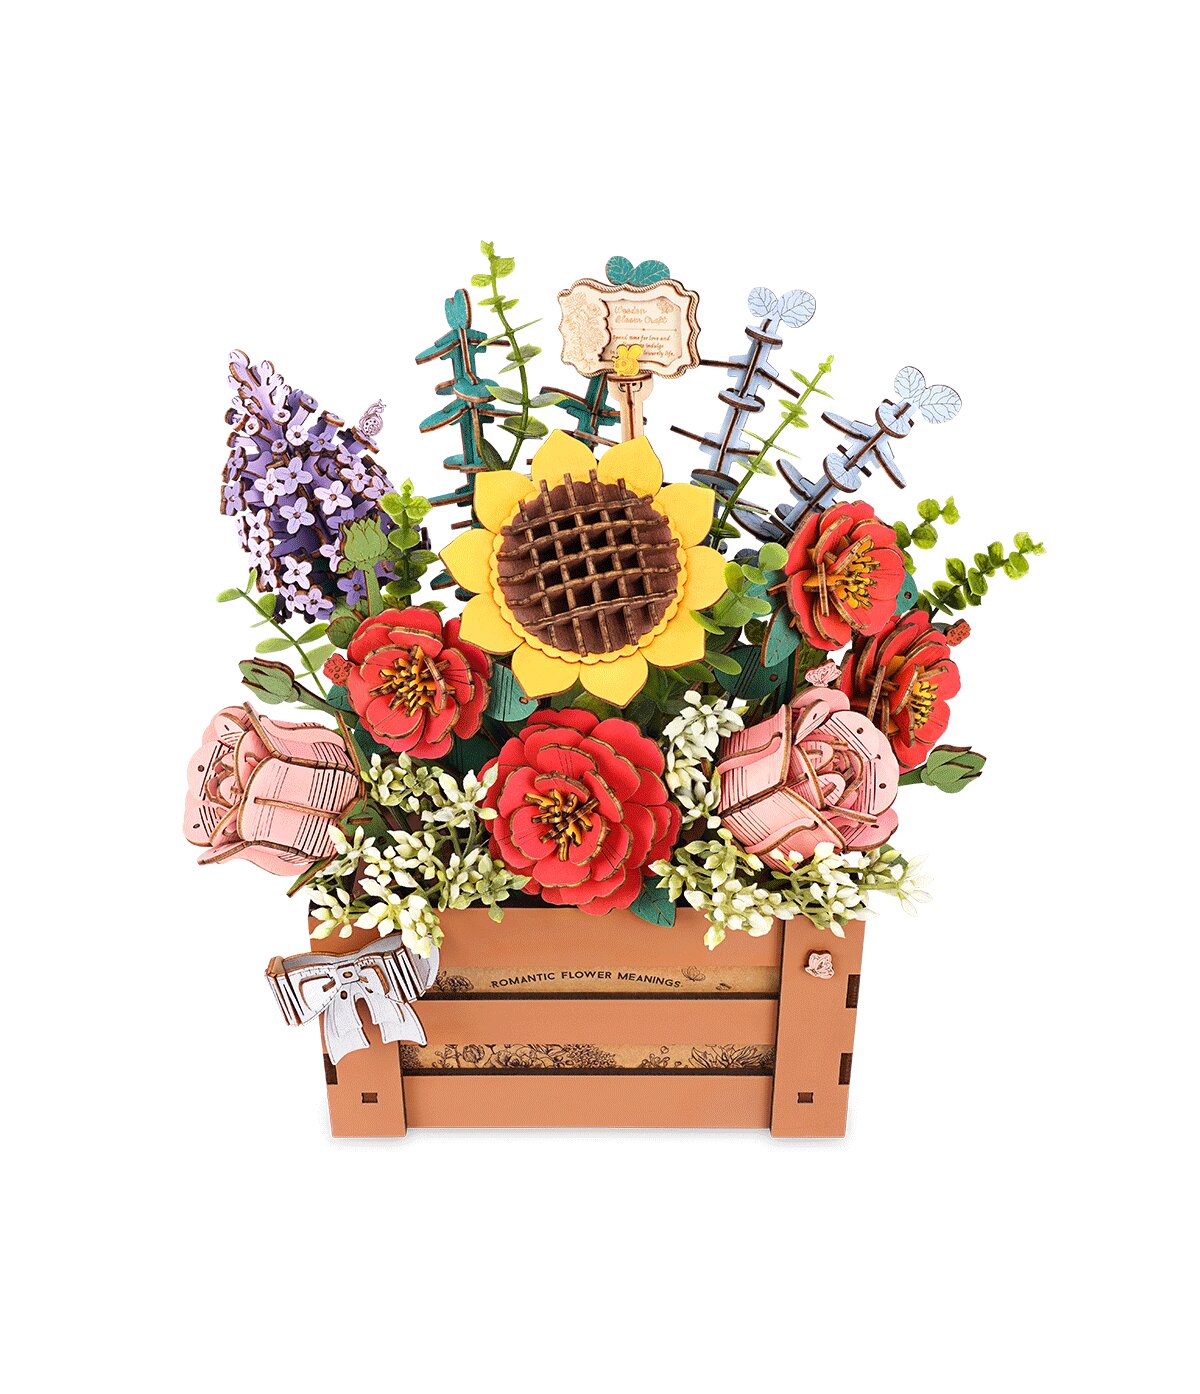
Wooden 3D puzzle - Wooden bloom box ROWOOD TW02H
- Number of pieces: 658
- Assembly time: 4 h 30 min
- Difficulty: 3
Frequently asked questions
Can I stop in the middle of a step?
You can, but if the step can be finished or undone, rather do that before the break. If you have to stop halfway, keep the pieces of that step together and write down what is still missing from it.
Should I punch out all the pieces at once to save time?
No. Leave the pieces you do not need yet in the board, where they keep their order and numbers. Punch out only the pieces of the step you are working on.
How many evenings will a big model take me?
Divide the stated assembly time by the length of your session. With 5 hours and sessions of one to two hours, that makes three to five evenings; for your first big model, allow some margin.
What if the next piece does not fit after a break?
Do not force it. Go back to the last ticked step, compare the model with the picture and check whether something has moved or is turned the wrong way round.