

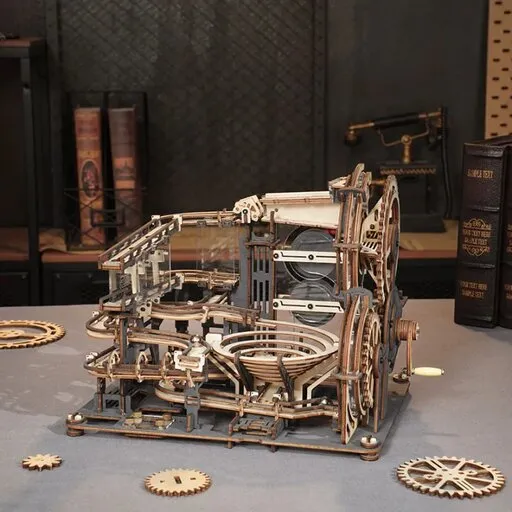










When the mechanism in a wooden model sticks, it is usually not a faulty part but friction: two parts press against each other harder than they should. You only need to find that spot and ease the friction, not take the model apart. We will show you how.
You find the friction by turning the mechanism slowly and watching closely where the resistance grows or a grinding sound appears. Then we ease it with things you usually have at home, and tell you when a badly seated part is the cause and how to fix it. At the end you check that everything runs smoothly.
How to find the spot where parts rub
Friction is the resistance that appears when two surfaces press against each other as they move. In a model with gears (a gear is a round part with teeth that meshes with the next one and passes the movement on) it can hide in several places at once, so do not take anything apart until you know where to look.
- Turn the mechanism slowly, not forcing it to the stop. Notice whether the resistance is the same through the whole turn or rises in one position only. Resistance in one position points to a particular tooth or part.
- At every wheel you can reach, try turning it on its own with a finger. A wheel that moves harder than the others is a suspect.
- Listen. Grinding or creaking, and spots where the movement stops for a moment, reveal where parts press against each other.
- Check whether any part is lifted or seated crooked. You can often see an edge that rubs against the neighbouring part when you look from the side.
- Mark the suspicious spot so that after you step in, you can compare whether the resistance has changed.
Tip: If the instructions mark places to wax, follow them instead of guessing. Wax in the wrong place or too much of it can make the parts fit worse.
What to ease the friction with
Most problems need only things you usually have at home. Start with the gentlest one and turn the mechanism again after each step to see whether it helped.
| Aid | Where it helps | What to watch out for |
|---|---|---|
| Fine sandpaper | small bumps on the edges of a part that presses against another | sand only lightly; too much sanding loosens joints that are meant to hold |
| Beeswax or a candle | gear teeth and sliding parts | only a very thin layer, applied lightly |
| Soft cloth | wiping off excess wax | wipe after each application so no film is left on the parts |
Better to avoid: oil, greasy sprays and furniture polish. They can stain the wood, collect dust and gum up a tight mechanism.
Apply wax only where parts move against each other, or at the places the instructions mark. Waxing everything at once leaves a film and can make the joints less precise. Friction is sometimes gone in two tries: after the first waxing, test the mechanism and add wax only where it still drags.
When friction is not the cause: a badly seated part
A badly seated part is a part that is in the model but does not sit quite where it belongs: an axle is not pushed in all the way, a wheel is turned the opposite way to the instructions, or a pin is not pressed home. The mechanism then sticks although no surface rubs needlessly, and wax does not help in that case.
- Find the step in the instructions where the part was added and compare its position with the picture.
- Check that the axle is pushed all the way into both holes and does not stick out further on one side than on the other.
- Make sure the part is not turned the wrong way round or swapped for a similar part.
- Carefully pull the part out and fit it again. If you have to press it in, something is in the way: check its edge and smooth it lightly. Thin pins crack under pressure.
- If the part cannot be pulled out without breaking, do not use force. Try moving it gently from side to side and find out what is holding it.
Another possible cause is humidity. Wood takes up moisture from the air and swells slightly, so in a damp room parts can press against each other harder. If the mechanism stuck only after some time, move the model away from damp corners and direct sun.
How to check that the mechanism runs smoothly
A good test is one that does not depend on feel. Go through these points before you close the model up or put it on a shelf.
- Turn the mechanism through a whole cycle without stopping. The movement should be even, with no spot where you have to push.
- Repeat it a little faster. If it sticks only at a higher pace, look for a part that lags for a moment as it moves.
- Check the mechanism once more after a few hours and the next day. Some problems only show up with time.
- If you hear a creak, add a small amount of wax at the spot the sound comes from.
How to avoid sticking with your next model
Friction is easiest to deal with along the way, during the build, not after it. You will find aids such as sandpaper and tweezers in the article about tools for assembly.
- After every step that adds a wheel or an axle, turn the mechanism. You will spot sticking at once and it will be clear which part caused it.
- Treat the moving spots with wax already during assembly, because in the finished model they are hidden and hard to reach.
- Before assembly, run a finger along the edges of the parts that will rotate or slide, and lightly sand small bumps.
- If the instructions show places to wax, wax only those and leave the others untreated.
If another mechanical model tempts you after the repair, take a look at Wooden mechanical 3D puzzle - Wall clock Zodiac ROKR LC601. According to the shop data it has 168 pieces and takes about 4 hours to assemble.
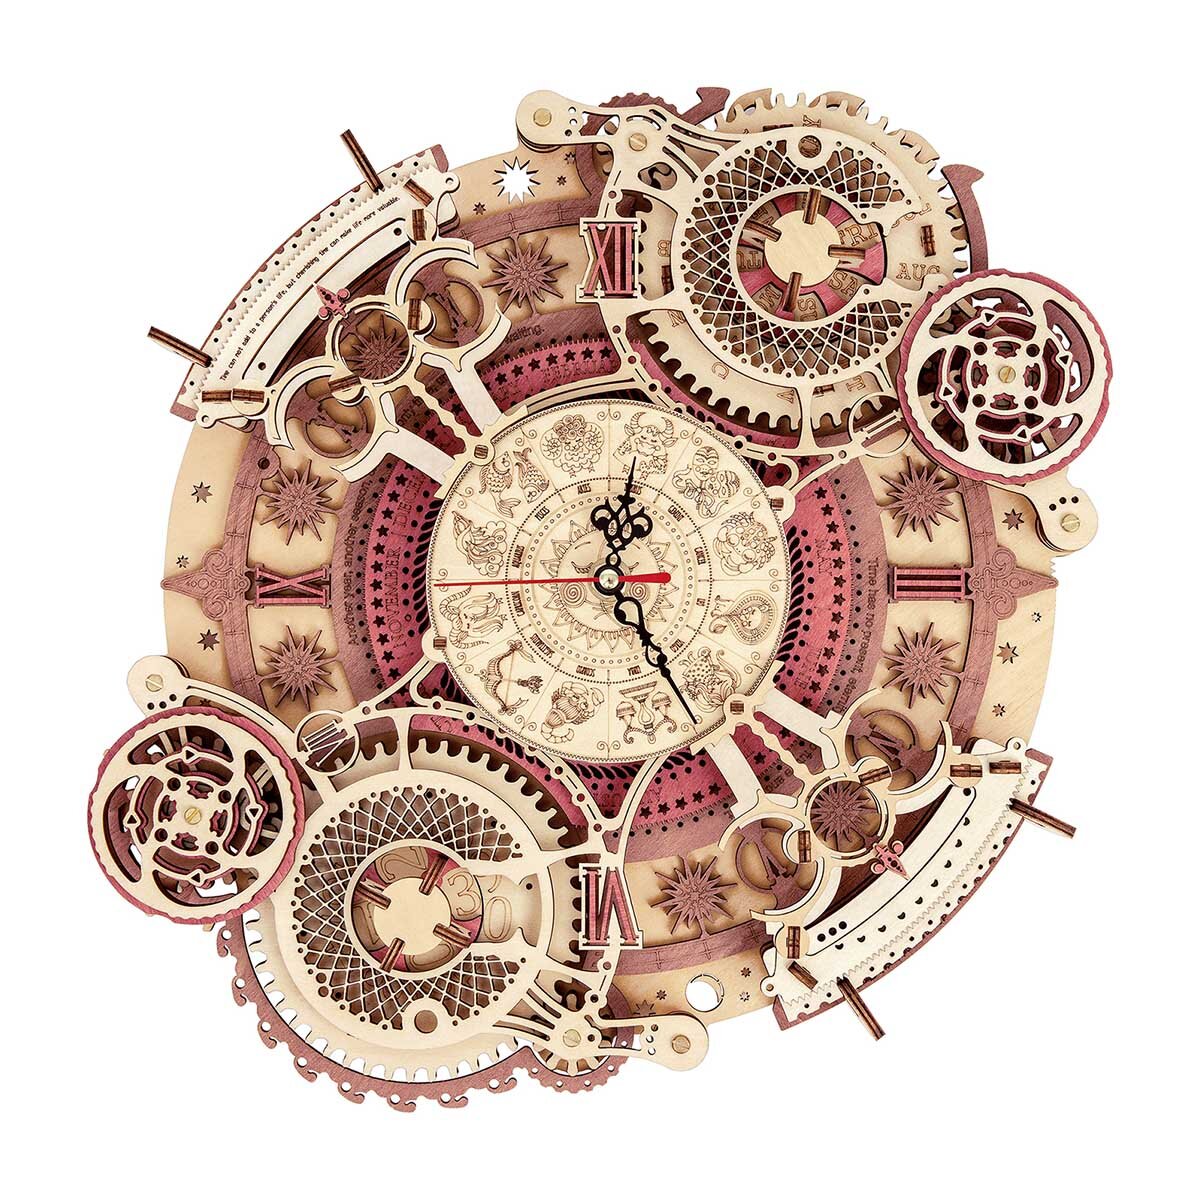
Wooden mechanical 3D puzzle - Wall clock Zodiac ROKR LC601
- Number of pieces: 168
- Assembly time: 4 h
- Difficulty: 3
Frequently asked questions
What should I do if the mechanism still sticks after waxing?
Wax only deals with friction. Check whether any part is badly seated: the axle must be pushed in all the way, the wheel turned the right way and the pin pressed home.
Why did the model stick only after a few days?
Humidity may be the cause: wood takes up water from the air and swells slightly. Move the model away from damp corners and direct sun.
Can I force the mechanism round when it turns hard?
Better not. A thin pin bends or breaks under pressure. First find the spot where it rubs and remove the cause.