








A child can manage a first wooden 3D puzzle when the age, the number of pieces and the assembly time suit their hands and patience. The manufacturer’s age is a lower limit, not an estimate of difficulty. The number of pieces mainly tells you how long the build will take, not how hard it will be. The first thing to do is find out the manufacturer’s age and how big the smallest piece is.
The number on the box does not tell the whole story. What the child has already built and put together also helps you decide, and so does whether they can find where to start. If they try again after a mistake, the difficulty may be a good fit. If they keep avoiding the model, it may be too big for them for now. A flat table and pieces sorted into bowls also help keep pieces from getting lost or broken; the details are below in the section on preparing the table.
Contents of the article
How to judge from age, number of pieces and time what a child can manage
Go through the model’s details in this order, because each one clarifies something:
- The manufacturer’s age. In the catalog this is the recommended age. If it is higher than your child’s age, skip the model: a model with a higher age may have smaller pieces or need more skilful hands.
- The number of pieces and the assembly time. Judge them together. The number of pieces tells you about the length of the build, but not how hard the individual steps will be. Split a longer time over several sittings, because a child may not last the whole time in one go.
- The smallest piece. Find out its size: if you have the kit with you, hold it in your hand, otherwise go by the model description and the photos. If it is too tiny for the child to grip, look for a model with larger pieces. If a small piece could be swallowed by the child or a younger sibling, do not choose the model and read the manufacturer’s warning.
- Moving parts, instructions and tools. A model with a moving mechanism, more demanding instructions or a need for a tool is harder than an equally big model without them. Many models hold together without glue, but check this in the instructions.
The age ranges in different guides vary: some give a few dozen pieces for a five-year-old, others more. So take them only as a rough guide and stick to the age the manufacturer gives for the specific model.
Where to help your child and where to let them try alone
On the first build, sit next to your child, but do not build for them. Your help should guide their attention, not replace their hands.
- Ask instead of pointing. “Which piece has a straight edge?” or “What does the picture say goes first?” guides them without you telling them where the piece belongs.
- Narrow the search. Move a few suitable pieces closer to your child, not the right one.
- Suggest turning it. When a piece will not go in, suggest turning it once or trying it from another side. Do not force it into the slot.
- Read the next step aloud. If the pictures are busier, read the step next to your child and let them place the piece.
Step in where adult hands are needed: with a stiff piece in the sheet or a moving mechanism that has to be held with both hands. When your child starts saying on their own what goes where, step back and let them lead.
What to set up on the table so pieces do not get lost or broken
A prepared table helps keep pieces from getting lost or broken. Use a flat, sturdy table with good light, where the sheet does not move. The light helps you spot tiny cracks before they turn into a break.
- Inspect the sheet first. Hold it up to the light and look for pieces with a crack or a half-torn tab. Pop such pieces out with extra care.
- Sort the pieces. Put the pieces into small bowls or onto a tray by size, shape or instruction step. Your child can sort them alone, and sorting makes building easier.
- Leave the unfinished model on the tray. Your child can come back to it later, and the pieces stay together with the instructions.
- Pop pieces out slowly. Push from the back of the sheet and support the front of the piece with a finger. With a piece that has several tabs, release them one by one. If a piece will not come out, the knife belongs in an adult’s hand.
Tip: Pop out a stiff piece together: your child holds the sheet flat, you push with your thumb from behind and support the front of the piece with a finger. If the piece resists, do not force it and release one tab after another.
If a piece breaks despite your care, it is not the end of the build: a broken piece can often be glued. You will find the repair steps in the article about a cracked piece, along with when it is better to ask the manufacturer for a spare part. More guidance for a first build is in the article on choosing your first building kit.
How to tell a model is too hard for your child
A model may be too hard for your child for now if some of this keeps happening:
- your child cannot find where to start, even with your help,
- handling the pieces is awkward for their hands or they cannot grip a piece,
- they need help with almost every piece and over several attempts,
- they avoid the model even though they like the theme.
One hesitation does not have to mean anything; what matters is repetition. So watch whether your child comes back to the model over several sittings and whether the build is visibly going well.
If the model is too hard, do this:
- Stop before frustration grows. Putting the model away for later is better than carrying on by force.
- Go back to the last step you were sure of. Do not start from the beginning. Try doing just one part together, for example the base, and leave the rest for the next sitting.
- If it is hard again on the next try, choose a simpler model. Look for fewer pieces, larger pieces and a model without a moving mechanism. Fewer pieces does not always mean an easier build, so compare the size of the pieces too.
Building kits with few pieces for a first build
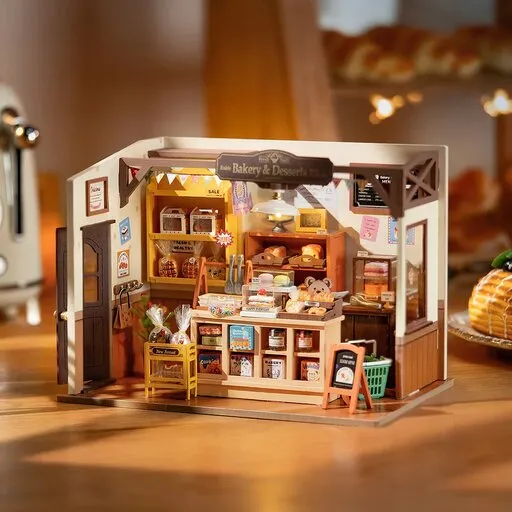
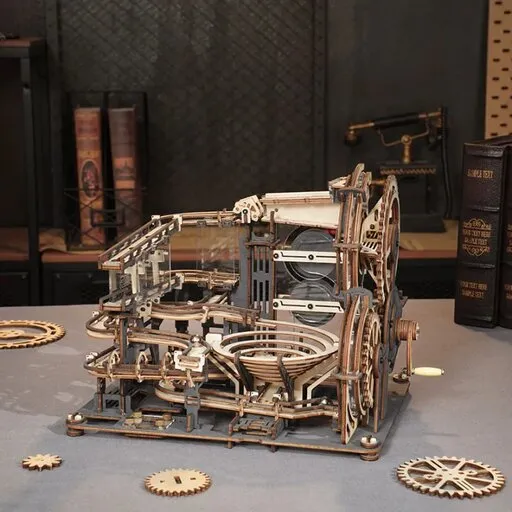
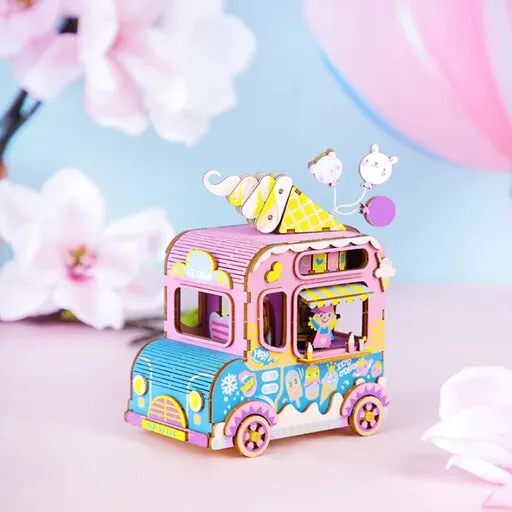
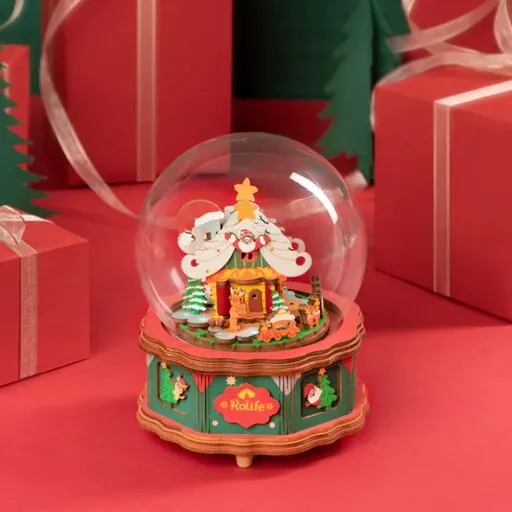
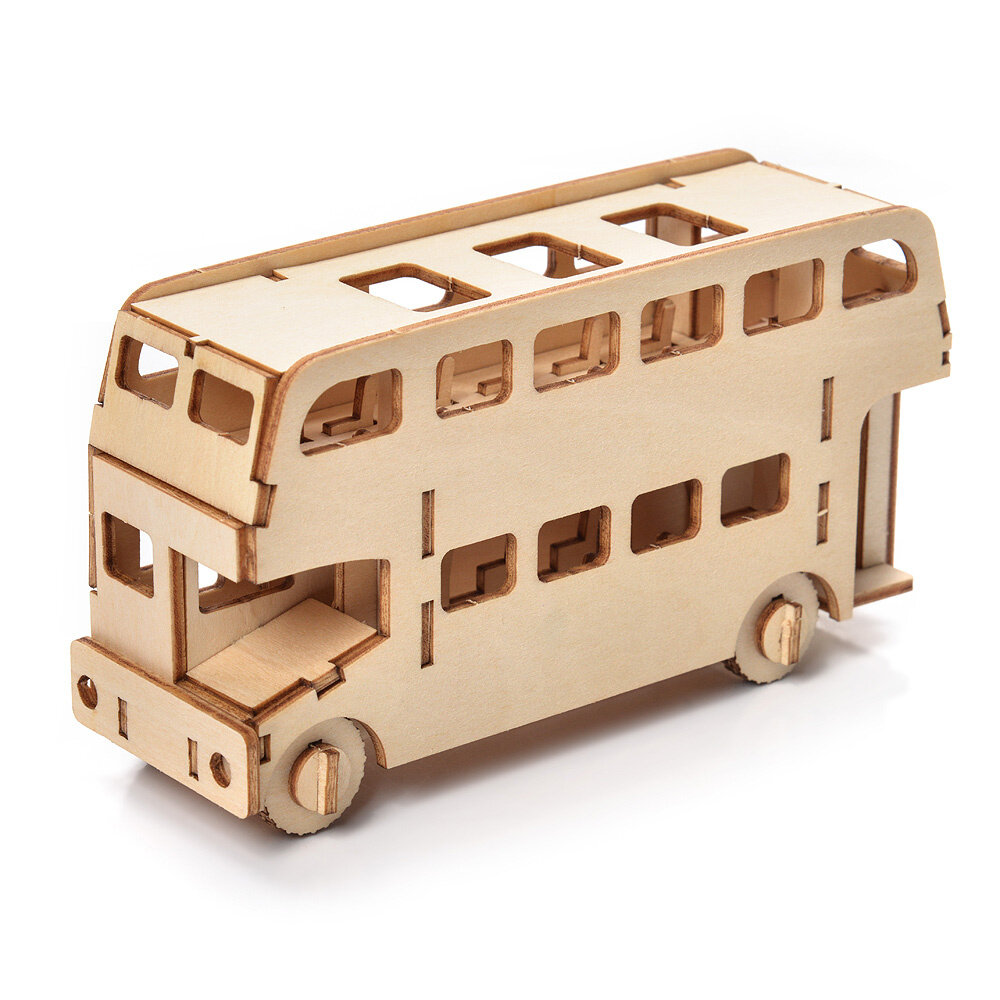
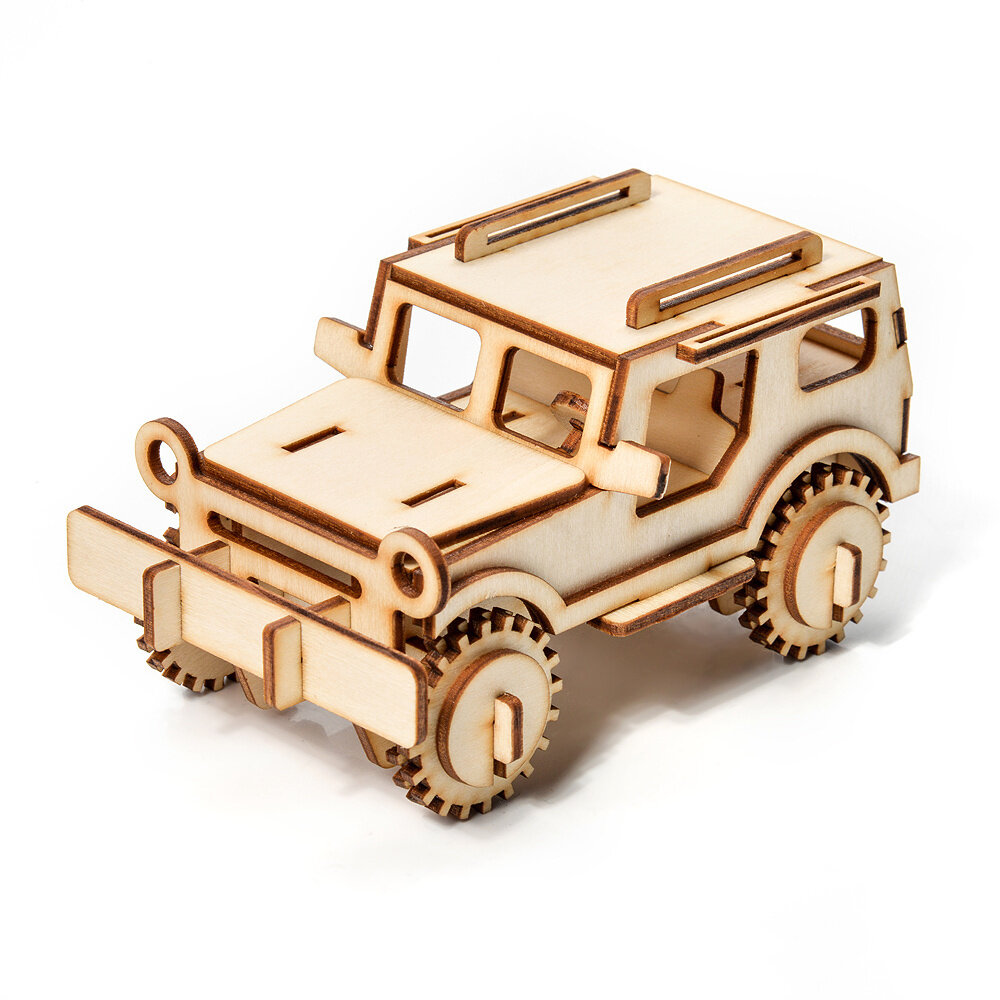
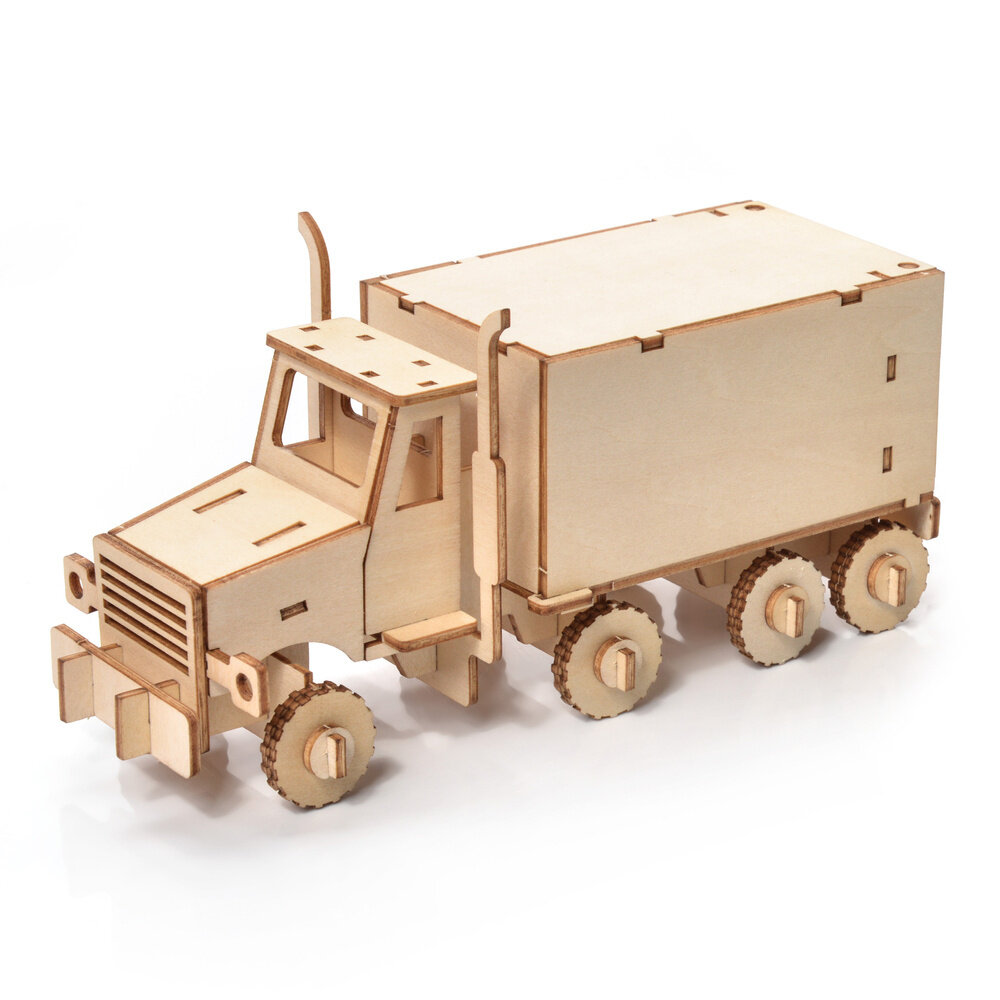
If you are looking for a model for a first build, start by comparing three details on the cards below. For all three the catalog gives a recommended age from 5 years and a number of pieces from 30 to 59. Still check the age and the other details on the model itself.
Frequently asked questions
Can a wooden 3D puzzle be built without glue?
Many models hold together without glue. Check in the instructions whether this applies to your model.
What should I do when a piece breaks?
A broken piece can often be glued. The steps are in the article about a cracked wooden part.
Should my child build alone?
On the first build, sit next to them and help with questions, not a ready answer. When they say on their own what goes where, step back.
When should I put a model away?
A model may be too hard for your child when they cannot find where to start, need help with almost every piece or keep avoiding the model. An unfinished model can wait on the tray.