
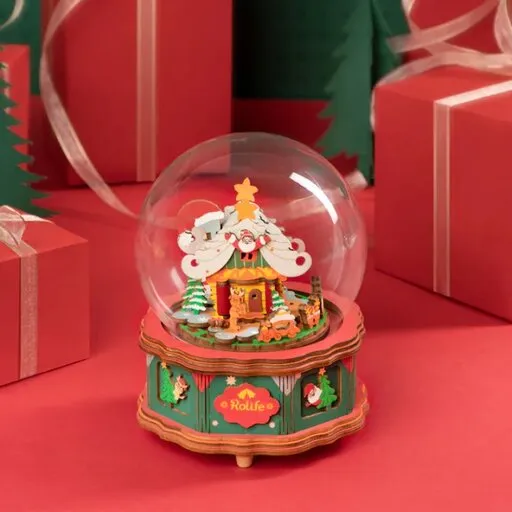
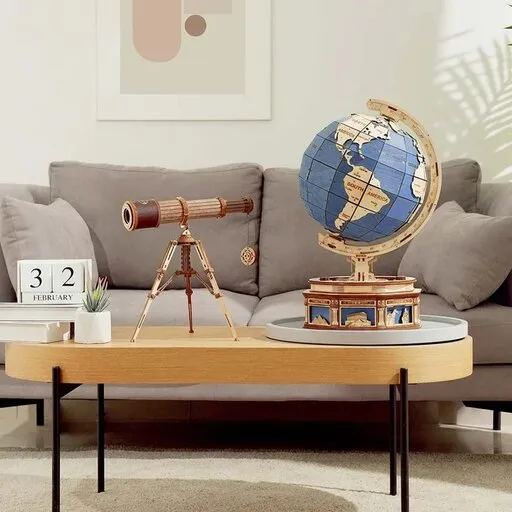






A wooden 3D puzzle is a kit of thin wooden sheets from which you press out laser-cut parts and, following the instructions, assemble them into a three-dimensional model. Unlike a classic jigsaw puzzle, you are not looking for where a piece of the picture belongs: you build an object you can walk around and see from every side, and in many models the parts hold in slots without glue.
The kinds differ mainly in what you get at the end: a model of a building or vehicle, a mechanical model that moves, a miniature house with furniture, a book nook for between your books, or wooden flowers. If you don’t know which one to pick, start with the question of whether you are more drawn to a model that moves or one that looks good on the shelf, and how many evenings and how much space you want to give it.
Contents of the article
How a 3D puzzle differs from a classic jigsaw puzzle
A classic jigsaw puzzle is a picture cut into pieces. You put it together on the table, compare colours and shapes, and the result is flat. With a wooden 3D puzzle you compare no picture: where a part belongs is set by the step in the instructions and the marking of the part on the sheet.
- The result. Instead of a flat picture you get an object that stands on its own, can be displayed and looked at from every side.
- The process. You can start a classic jigsaw puzzle anywhere, often from the edges. You build a 3D model in the order of the steps, usually from the bottom up, and each next step stands on the previous one.
- The joint. The parts slide into slots and notches and hold by friction. A part inserted the wrong way round often shows only a few steps later, when the next part does not fit.
- The material. Wooden models are mostly made of thin plywood, that is several glued layers of wood, or of fibreboard.
There are also 3D puzzles made of cardboard or foam, with the picture printed directly on the parts, and plastic models. Wooden models work on a different principle: the shape of the object comes from parts slotted together, not from a picture, so with them you think more about what holds what.
Five kinds of wooden 3D puzzles
The borders between the kinds are not strict, and makers name them differently. For choosing, it is enough to know what the finished model does and where it will stand.
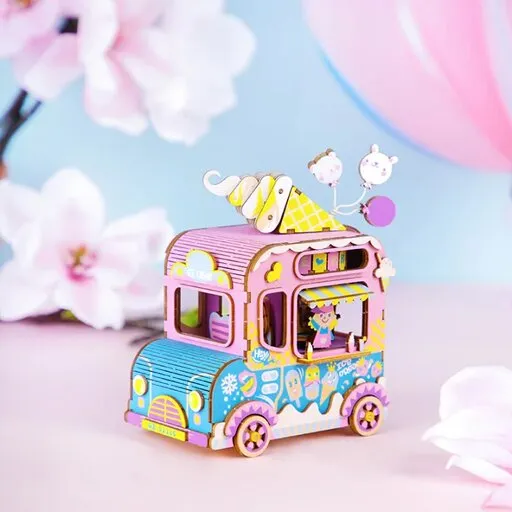
- A model of a building or vehicle. A static model of a well-known building, car, ship or plane. It is about shape and detail, not movement; on some vehicles the wheels turn. It suits you if you want to see a building or a machine you know on your shelf.
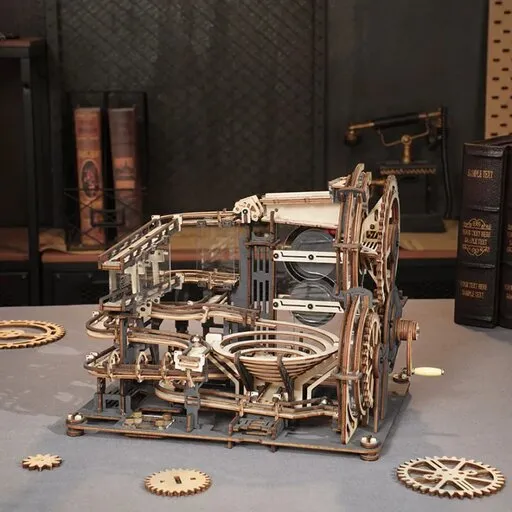
- A mechanical model with movement. Once finished, the model moves: it drives, turns, plays or shows the time. The movement is carried by gears, that is wheels with teeth that mesh with each other, and depending on the model also by a crank, a spring or a rubber band. Precision decides here, because the model can look finished and still not move when one of the wheels rubs.
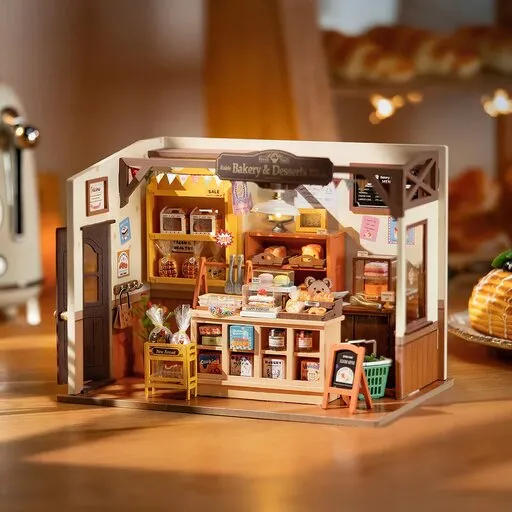
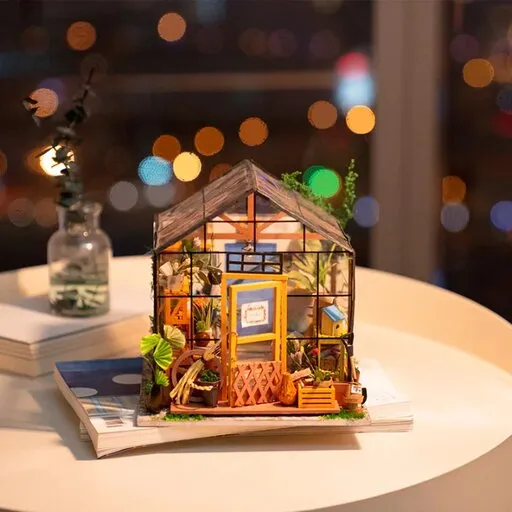
- A miniature house. A small free-standing scene of a room, shop or house with furniture and small details, often with LED lighting. Besides wood it usually contains paper, fabric and small accessories, and you can see it from several sides.
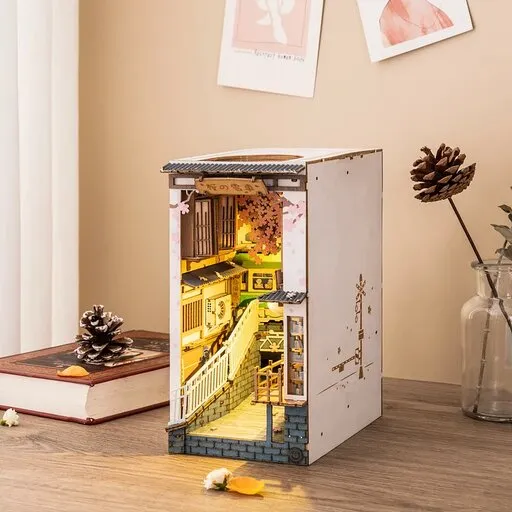
- A book nook. A narrow insert for a bookcase that stands between the books like one thicker book. Inside is an alley or a room that you see mainly from the front, and its depth comes from perspective and often from light too.
- Wooden flowers. Single flowers or a whole bouquet made of thin parts that slide into slots, with petals gently bent into shape. Nothing moves or lights up; it is about a shape that does not wilt.
What a book nook looks like inside and why the alley in it seems deeper is covered in the article Book nook: a small world between the books on your shelf. With flowers, the most delicate part is shaping the thin petals, and you will find the method in the article Wooden flowers: how to shape petals so they do not crack.
Which kind suits whom: time, patience and space
When choosing, it is worth answering three questions: how many evenings you want to give the build, what you will enjoy about it and where you will put the finished model. The exact number of parts, the assembly time and the recommended age are given for each kit separately; the table compares the kinds in general.
| Kind | What you will enjoy | What to watch out for | Where it will stand |
|---|---|---|---|
| Building or vehicle | the shape and details of a building or machine you know | larger models with many parts need more evenings | a shelf, table or display cabinet, depending on the size of the model |
| Mechanical model | movement that works once it is finished | fitting the gears precisely and testing the movement before closing | a place where you can reach the model and set it going |
| Miniature house | furnishing a room or shop, small details, light | many small parts, paper and fabric, sometimes glue | a table or shelf, visible from several sides |
| Book nook | a scene that hides between the books | the width of the gap in the bookcase, light and access to the batteries | a gap between books |
| Wooden flowers | calm shaping of the petals | thin parts that crack if bent sharply | a vase on the table or on a shelf |
- You want the model to do something. Choose a mechanical model. Expect stiff movement to be fine-tuned at the end, and that you need more patience here than with a static model.
- You have many books and little free space. A book nook takes up only a gap in the bookcase. Before you choose one, measure the gap following the article Book nook for your shelf: how to measure the space first.
- You enjoy furnishing and fine work. A miniature house gives you the most small details, furniture and light.
- You want a calmer project without mechanics or light. Wooden flowers or a smaller building model. A single flower is a smaller project than a whole bouquet.
- You want a building or a machine you know at home. A model of a building or vehicle, chosen by the size of the finished model and the space on your shelf.
If you are building for the first time, choose a smaller model with lower difficulty and allow some margin, for example two evenings rather than one. How to prepare for your first kit is described in the article Wooden 3D puzzles: how to choose your first building kit and what to prepare for.
What all kinds have in common when you build them
Whichever kind you choose, the basis is the same: the parts are cut in thin sheets, they are assembled in the order of the steps in the instructions, and most joints hold in slots. That leads to a few habits that apply to every model.
- Press parts out carefully from the back of the sheet. Lay the sheet on the table, push the part out with your thumb from behind and support it with a finger at the front. If it won’t come, don’t add force, but look for the tab that still holds it; otherwise a thin part bends or cracks.
- Before each step, find the parts by their marking. Compare the number or shape of the part with the picture in the instructions and check which way it should face. When the part sits the same as in the picture, you can go on.
- Insert parts without force. If a part goes into its slot with difficulty, check whether it is turned the right way and whether a leftover bit of tab is blocking the slot. A part pushed in by force bends right at its narrowest point.
- Glue only where the instructions show it. Many wooden models hold without glue, but paper, fabric and small accessories in houses and book nooks sometimes need it. For a broken wooden part, wood glue helps.
- Test what moves or lights up before you close it. On a mechanical model, turn the mechanism and watch whether it runs smoothly; on a house or book nook, switch the light on. If something rubs or does not light up, fixing it is easier now than after the wall or cover is closed.
Tip: Put pressed-out parts you are not using yet into a bowl or small box. If one is left over after you finish a step, go back one step in the instructions and check whether it should have been inserted earlier.
If after finishing all the parts sit straight, nothing sticks out and whatever should move runs without catching, the build has succeeded. Throw away the remaining empty sheets and tabs only when you are sure no part is left in them.
Wooden 3D puzzles by kind: five examples
If you want to see how the kinds differ in numbers, here is one example of each kind. The number of parts, the assembly time and the difficulty come from the shop data; for your first build, allow some margin.
The building model is represented by Wooden 3D puzzle - Sydney Opera House Little Story E028, the mechanical model by Wooden mechanical 3D puzzle - Cuckoo clock ROKR LC901C, which shows the time once finished and has opening doors. The miniature house is Miniature house - Restaurant Tipsy Rolife DG167, the book nook Bookshelf insert - Street scene Rolife TGB13 and the flowers Wooden 3D puzzle - Bouquet of flowers ROWOOD TW01H. According to the shop data, the bouquet is intended for ages 8 and up, the other four for ages 14 and up.

Wooden 3D puzzle - Sydney Opera House Little Story E028
- Number of pieces: 267
- Assembly time: 3 h
- Difficulty: 3
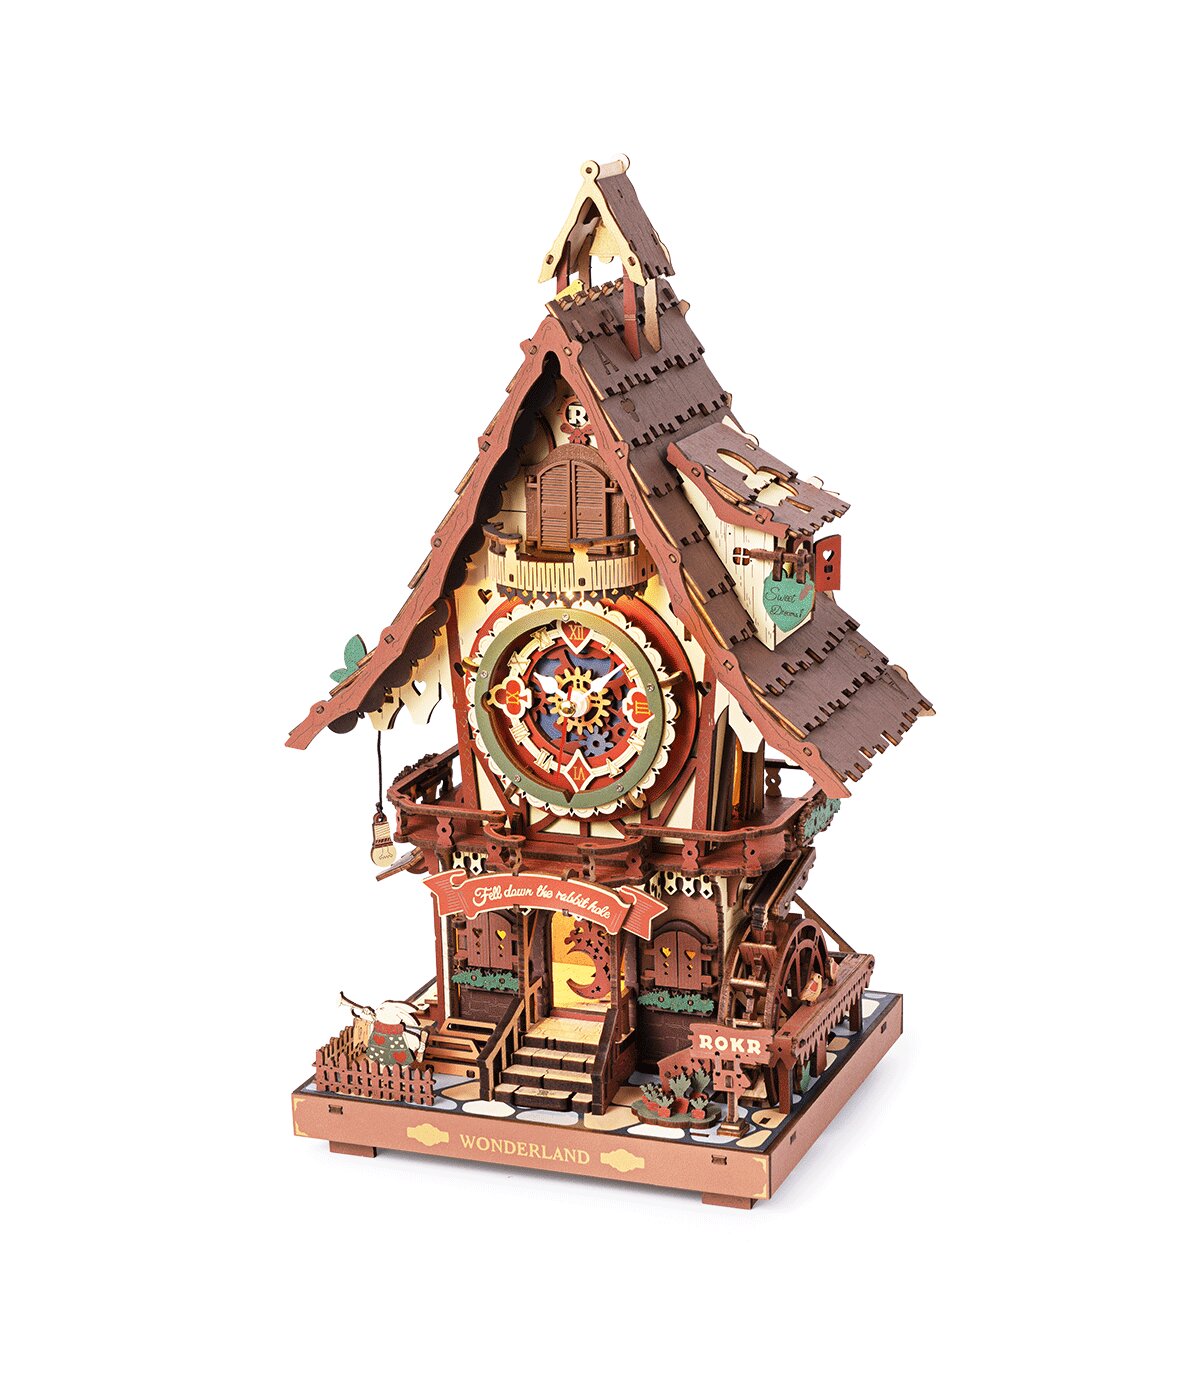
Wooden mechanical 3D puzzle - Cuckoo clock ROKR LC901C
- Number of pieces: 435
- Assembly time: 6 h
- Difficulty: 4

Miniature house - Restaurant Tipsy Rolife DG167
- Number of pieces: 297
- Assembly time: 5 h
- Difficulty: 3


Wooden 3D puzzle - Bouquet of flowers ROWOOD TW01H
- Number of pieces: 581
- Assembly time: 3 h
- Difficulty: 3
Frequently asked questions
Do you need to glue a wooden 3D puzzle?
Many wooden models are designed so that the parts hold in slots without glue. In miniature houses and book nooks, paper, fabric and small accessories are sometimes glued; what to glue and where is set by the instructions of your kit. A broken wooden part can be glued with wood glue.
Is a wooden 3D puzzle suitable for children?
It depends on the recommended age given for each kit, and you should keep to it. Many models have small, thin parts and are intended only for older children. For a younger child, choose a model made for their age and build it together.
How long does it take to build a wooden 3D puzzle?
It depends on the kind, the number of parts and whether you are building for the first time. Take the assembly time given for the kit as a guide. For your first build, allow some margin and spread a larger model over several evenings so you don’t have to rush with the small parts.