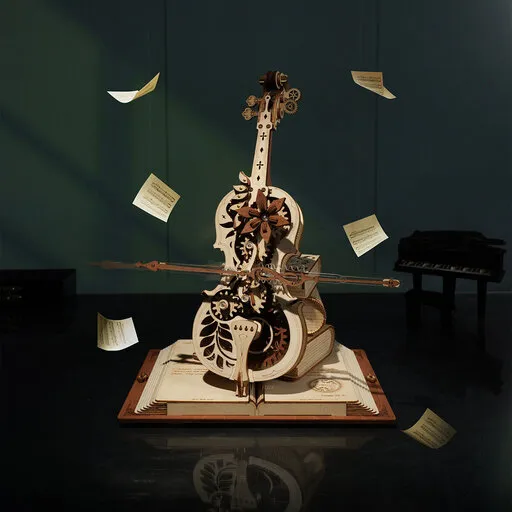
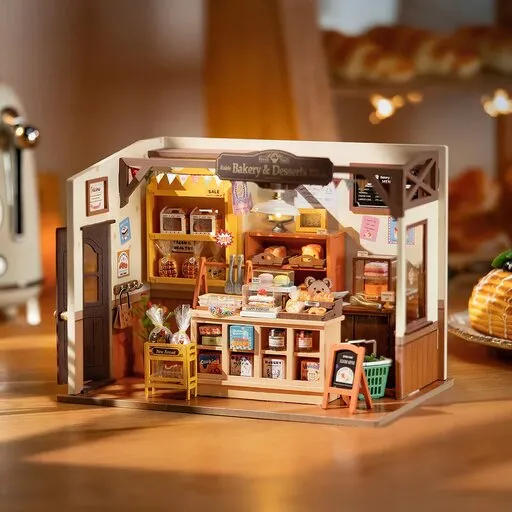
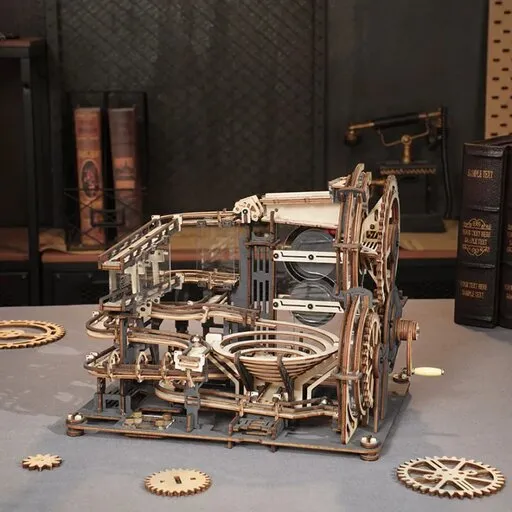
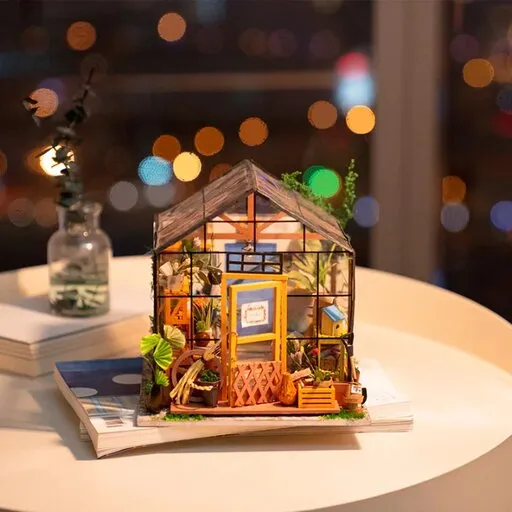
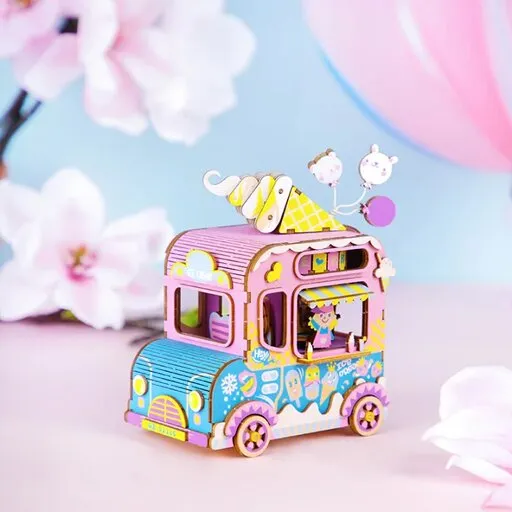
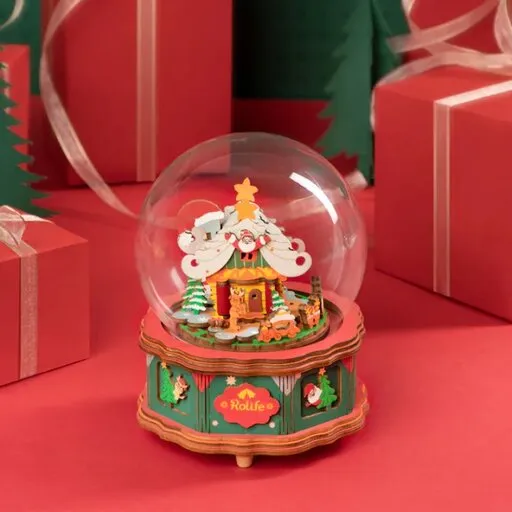
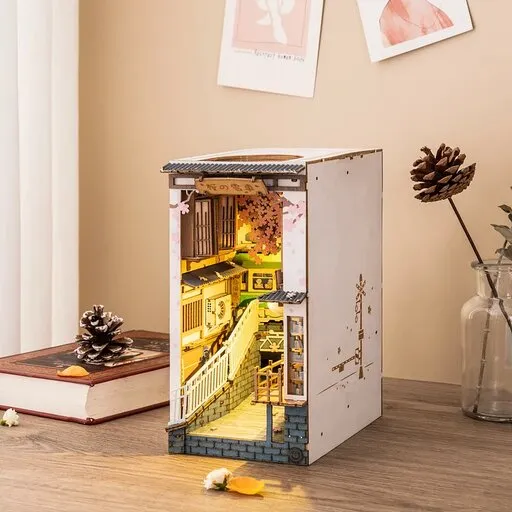







Three things create a festive mood on the shelf: warm light, two or three colours and a few small decorations at the right scale. Put everything next to the finished model or above it and glue nothing onto it. That way the model stays undamaged and after the holidays the decorations come off without a mark. This applies to a book nook, that is a small scene slid in between books, as well as to a stand-alone miniature house.
Raw wood and paper soak up glue, tape and grease, and you cannot wipe the stain off afterwards. So in a Christmas scene you glue nothing onto the model's parts, and you must be able to lift every decoration in one movement. Another rule: no flame. The light comes only from battery-powered LED lights.
Contents of the article
- Light, colour and scale: what makes a scene festive
- How to choose one idea based on the space on the shelf
- What you can make from paper, wire and things from home
- How to hold decorations in place without gluing them to the model
- How to remove the scene after the holidays without marks
- If you do not have a finished model to decorate yet
- Frequently asked questions
Light, colour and scale: what makes a scene festive
A festive look does not come from the number of decorations. A scene lit by the ordinary ceiling light of the room looks like a finished model. When one warm point of light shines beside it and the surroundings are dimmed, it looks like a window into an evening. So try these three things first and only then add decorations.
- Light. Choose a battery-powered LED light in warm white, roughly 2,700 to 3,000 kelvin. Kelvin is the unit used for the tone of light: a lower number means yellower and warmer light. If the model has its own light, leave it on and switch off the other lamps in the room. If the scene looks like evening in the darkened room, there is enough light. If you can barely see it, add a second small light next to it.
- Colour. Stick to two colours and natural wood, for example red and white or green and gold. If, after adding a third colour, you do not know where to look first, drop the third colour. The eye then finds one thing, not five.
- Scale. Put each decoration next to the model and look at it from the distance from which you usually look at the shelf. If a tree is taller than the doors in the scene, it makes the scene look smaller and the model starts to look like a toy. Shorten or shrink the decoration until it fits the windows and doors of the model.
Paper, wood and cardboard burn and a flame damages them, so do not use candles or sparklers in the decorations. If the model's own light does not work, you will find the cause in the article about batteries, contacts and cables.
How to choose one idea based on the space on the shelf
One good idea fits on a shelf, not all of them at once. Decide based on how much space you have around the model and where you look at it from. If you are not sure of the dimensions, the article about measuring the space on a shelf shows how to find them.
| Place on the shelf | What works there | What to watch out for |
|---|---|---|
| Shelf at eye level, model seen from the front | a paper tree or star next to the model and one warm light | the decoration must not cover the doors or windows of the scene |
| Deep shelf with free space in front of the model | a row of small paper trees, taller at the back, shorter at the front | do not place anything right against the front wall of the model, so that nothing catches when you put things away |
| Narrow shelf with no space around the model | a garland of thread and small paper stars hung from the shelf above the model | do not attach the thread to the model but to the underside of the upper shelf |
| Shelf near a radiator or a lamp | wire stars and wooden decorations | keep paper and thread away from the heat source |
Choose the one row that suits your shelf and build only that idea. A scene with one well-chosen thing looks calmer than a crowded one.
What you can make from paper, wire and things from home
You need nothing special for the decorations. White and coloured paper, thin wire, thread and small items that tend to be in a drawer are enough. Scissors and a sharp knife will help you with paper and wire, as the article about assembly tools also says.
- Paper snowflakes. Fold a square of thin white paper twice, cut into the edges and unfold it. Thin paper is easier to cut than thick paper. Hang the snowflake on a thread.
- Cone trees. Roll a cone from paper, join the edge with a drop of glue and let it dry next to the model. Use glue only on the decorations, never on the model.
- Wire stars. Bend thin wire into a five-pointed star and bend both ends inwards. A bent-in end does not catch on the parts of the model and does not scratch the wood.
- Garland. Thread small paper rings or little stars onto a thread and hang it from the upper shelf. Let it hang freely so that it does not touch the model.
- Snow. Lay pieces of torn white paper loosely in front of the entrance. Leave cotton wool, glitter and artificial snow spray aside: glitter can get into narrow gaps, from where it is hard to remove, and the spray can leave stains on raw wood.
Tip: Lay the finished decorations out on white paper next to the shelf first and only then move them onto the shelf. By moving them on the paper you scratch nothing and you see straight away which of them is too big.
How to hold decorations in place without gluing them to the model
A good decoration stands on its own, hangs from the shelf above the model or is held in a way that lets you lift it without a mark. Choose the first method that suits your shelf:
- It stands on its own. The decoration gets a base made from a folded strip of paper. If the decoration does not tip over after a gentle tap on the shelf, the base is wide enough.
- It hangs from above. Tie the thread to a part of the shelf above the model or hold it with a small piece of putty under the varnished board. If you cannot see the model well from the front once it is hanging, shorten the thread.
- Putty holds it. Museum putty is a soft putty used to hold small objects temporarily. Tear off a pea-sized piece and knead it between your fingers for 30 to 60 seconds until it softens. Then put it under the base of the decoration. Use it only on a clean, smooth varnished shelf surface, not on raw wood or paper.
- Putty test. Before you use the putty for real, put a piece in a hidden spot, for example under the shelf board, and leave it there for one day. Then remove it and check whether a stain or a change in gloss has remained on the wood. If it has, do not use putty on that shelf.
- Light cable. Run it over the edge of the shelf and leave it loose so that it does not pull the model along with it.
How to remove the scene after the holidays without marks
Remove the decorations in the reverse order to how they were added and compare the result with the photo taken before decorating. So take a photo of the model and the shelf before the first decoration goes on.
- Switch off the light and take it out carefully. Do not pull the cable, so that it does not catch on the parts of the model.
- Take down the thread garlands and wire stars, and put the paper decorations into a flat box where they will not get crushed. Label the box so that you find it next year.
- Remove the putty with a gentle twisting and lifting motion, not by pulling straight up. Pick up any residue from the shelf by dabbing it with a fresh piece of putty.
- Wipe the model and the shelf with a dry soft brush. The brush sweeps dust out of narrow spots too.
- Compare the model and the shelf with the photo from the beginning. If neither the surface gloss nor the position of the parts has changed, the decorations damaged nothing.
If you do not have a finished model to decorate yet
Only a finished model can be decorated, and a bookshelf insert has to be built first, so plan time for it before the holidays. If you are looking for a scene with a festive theme, the shop has the Christmas Street insert with snow-covered roofs, a decorated tree and a snowman. According to the shop data, it has 289 pieces, assembly takes about 6 hours and it is intended for ages 14 and up.

Bookshelf insert - Christmas street Rolife TGC06
- Number of pieces: 289
- Assembly time: 6 h
- Difficulty: 5
Frequently asked questions
Can I put a real candle in the Christmas scene?
No. Paper, wood and cardboard burn and a flame also discolours them. Use an LED candle or a short battery-powered LED string in warm white.
What can replace artificial snow if I do not want a spray?
Pieces of torn white paper laid loosely in front of the entrance. After the holidays you sweep them away with a brush and nothing is left behind.
Can I put twigs or dried fruit directly on the model?
Better next to the model, for example on a small saucer. Raw wood and paper can soak up damp and greasy things and you cannot remove the mark afterwards.
How do I know the decorations have not damaged the model?
Compare it with a photo from before decorating. Look at the surface gloss, the position of the parts and the spots where putty or the base of a decoration stood.