

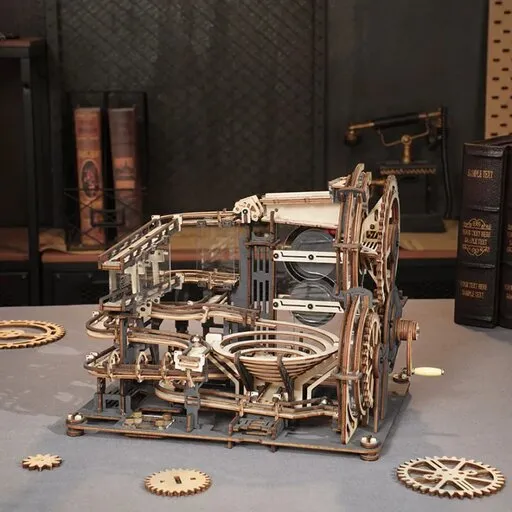











Before you fit the cover or the last wall onto the mechanism, turn it slowly by hand several times: with the crank, the small wheel or the part the instructions use to drive it. Watch whether the resistance stays the same through the whole turn, whether all the gears that should already turn are turning (a gear is a round part with teeth that passes motion on to the next gear), and whether anything rubs against the frame. While the mechanism is open, you can easily find and remove rubbing; once it is closed, you can often only reach it by taking it apart.
Test only what should already move at that stage according to the instructions, and do not force anything. Heavy running or a catch is no reason to reach for glue: it is usually a part that is not fully in place, a rough edge on a tooth or dry friction of wood on wood, and you can solve that without gluing. Only when the mechanism runs smoothly should you take the step that can no longer be undone.
Contents of the article
- Which movements to test before closing and what to watch
- What heavy running or a catch means
- What to try without glue when the mechanism rubs
- Which step can no longer be undone and what should come before it
- How not to damage thin parts during the test
- Models with gears where the test pays off
- Frequently asked questions
Which movements to test before closing and what to watch
Do the test where the instructions finish the mechanism but do not yet cover it. If the instructions show their own movement test at this point, do exactly that one. Otherwise test these movements:
- Slow full turns. Turn the crank or the drive gear slowly round several times, in the direction the instructions show. The resistance should be the same through the whole turn. If it rises at one point and then drops again, something is rubbing there.
- Each gear separately. Check that every gear that is already connected is turning. A gear that stands still or turns jerkily is the first suspect.
- View from the side and from above. Gears on one axle should stand straight and should not touch the frame or neighbouring parts they do not mesh with. You often see a rubbing edge best from the side.
- Sound. Listen while turning. Creaking, squeaking or a click at the same point of every turn shows where parts press against each other.
- Movement at the end of the mechanism. If the mechanism drives something, such as hands, a lever, a cylinder or a figure, watch whether it moves through its full range and returns without catching.
If the model has a spring drive, wind it only as far as the instructions say: a spring forced past its limit can rarely be repaired at home. If the model lights up, test the light too while the batteries and wires are still accessible.
The test has passed when the mechanism turns evenly over several turns in a row, without jerks and without a rubbing sound, and when the model matches the picture in the instructions from the front and from the side. If not, do not move on to the next step; look for the cause.
What heavy running or a catch means
From when and how the mechanism rubs, you can narrow down the cause before you take anything apart.
- It catches at one point of every turn. Usually it is one tooth with a leftover bridge, or a part that rubs against its neighbour at that position. A bridge is the thin link that held the part in the board.
- It runs heavily through the whole turn. A gear may be pressed against the frame because the axle is pushed in deeper than the picture shows, or a frame wall has not seated and the two boards with gears are not parallel. Dry friction of teeth and axles also causes heavy running.
- A gear skips or wobbles. The part is not pushed fully into place, it is turned the wrong way round, or a washer that the instructions show is missing.
- It squeaks or creaks. Dry wood is rubbing on wood. A thin layer of wax usually helps here.
If a model that is already closed rubs, the way to find the point of friction is described in the article Sticking mechanism: how to find the friction and fix it.
What to try without glue when the mechanism rubs
Glue does not remove friction; it only fixes the part where it is, even if that is the wrong place. Try these steps first and, after each one, turn the mechanism slowly again:
- Compare the model with the picture. Go back to the last step the model definitely matched and check the parts after it: which way round they are, the order of the gears on the axle and the number of washers.
- Push in or pull out slightly. Carefully push in a part that is not fully home. Pull an axle that is pushed in deeper than the picture shows out a little, so the gear is not pressed against the frame.
- Wax the friction points. Rub a thin layer of candle, paraffin or beeswax on the teeth and axles and wipe off the excess. If the instructions mark where the wax goes, follow them. Do not use oil, spray or furniture polish: they can stain the wood and collect dust, and a lubricant containing water can make the wood swell.
- Remove the leftover bridge. Sand the tooth or edge with the leftover bridge with a few light strokes of fine sandpaper. With a tight joint, sand the tab, that is the projection that slides into the hole, never the hole: you cannot undo an enlarged hole and the joint would loosen.
Tip: When the mechanism runs better after an adjustment but not yet smoothly, do not move on to the next step. Look for another point of friction while the mechanism is open. Every fault you cover up is harder to find later.
If the mechanism still does not run after these steps, or you would need force, stop and go through the instructions again from the last verified step. More pressure will not fix a part that is turned the wrong way or teeth that do not mesh; it only damages wooden tabs, holes and teeth.
Which step can no longer be undone and what should come before it
Any step after which you cannot reach the mechanism without damaging the model is irreversible: gluing, fitting a cover or a wall you can no longer pull out without breaking tabs, or covering the batteries and wires. Before you take it, check these points:
- the mechanism has passed the test from the first part and turns evenly,
- the model matches the picture of the last step from the front and from the side,
- if a loose part is left on the table, you know from the instructions where it goes, and it does not go inside,
- you have tested the light and batteries, if the model has them, with the model still open,
- glue, if the instructions want it at all, goes on only after the test and only where the instructions show it.
If the instructions do not use glue, do not add it to the cover either. A cover held only by tabs can often be carefully removed in an emergency; a glued cover cannot.
How not to damage thin parts during the test
During the test it is easy to break a thin part that you hold while turning or that you press on. These habits prevent it:
- Hold the model by its solid frame or base, not by decorative parts, levers or hands.
- Turn it with the part meant for that, such as the crank. If you have to move a gear directly, press with your finger on its face, not on individual teeth.
- When you meet resistance, do not overcome it with force or a jerk. If the mechanism allows it, turn it back a little and look for the cause.
- Put the model on a flat, stable table so that it does not slide or tip over while you turn it.
If a thin part does break, that is not the end of the build. How to fix it is described in the article Cracked wooden part: how to fix it and keep building.
Models with gears where the test pays off
If you are looking for a model where the test before closing is worth it, here are three with gears. The number of pieces, the assembly time and the difficulty come from the shop data.
Wooden mechanical 3D puzzle - Wall clock Zodiac ROKR LC601 is a wall clock with a rotating calendar that is set with a small gear. Wooden mechanical 3D puzzle - Magic Harp ROKR AMK71 is a music box in the shape of a harp with visible gears and moving parts. Wooden mechanical 3D puzzle - Magic piano ROKR AMK81 is a self-playing piano whose gearbox can be seen through a transparent cover.
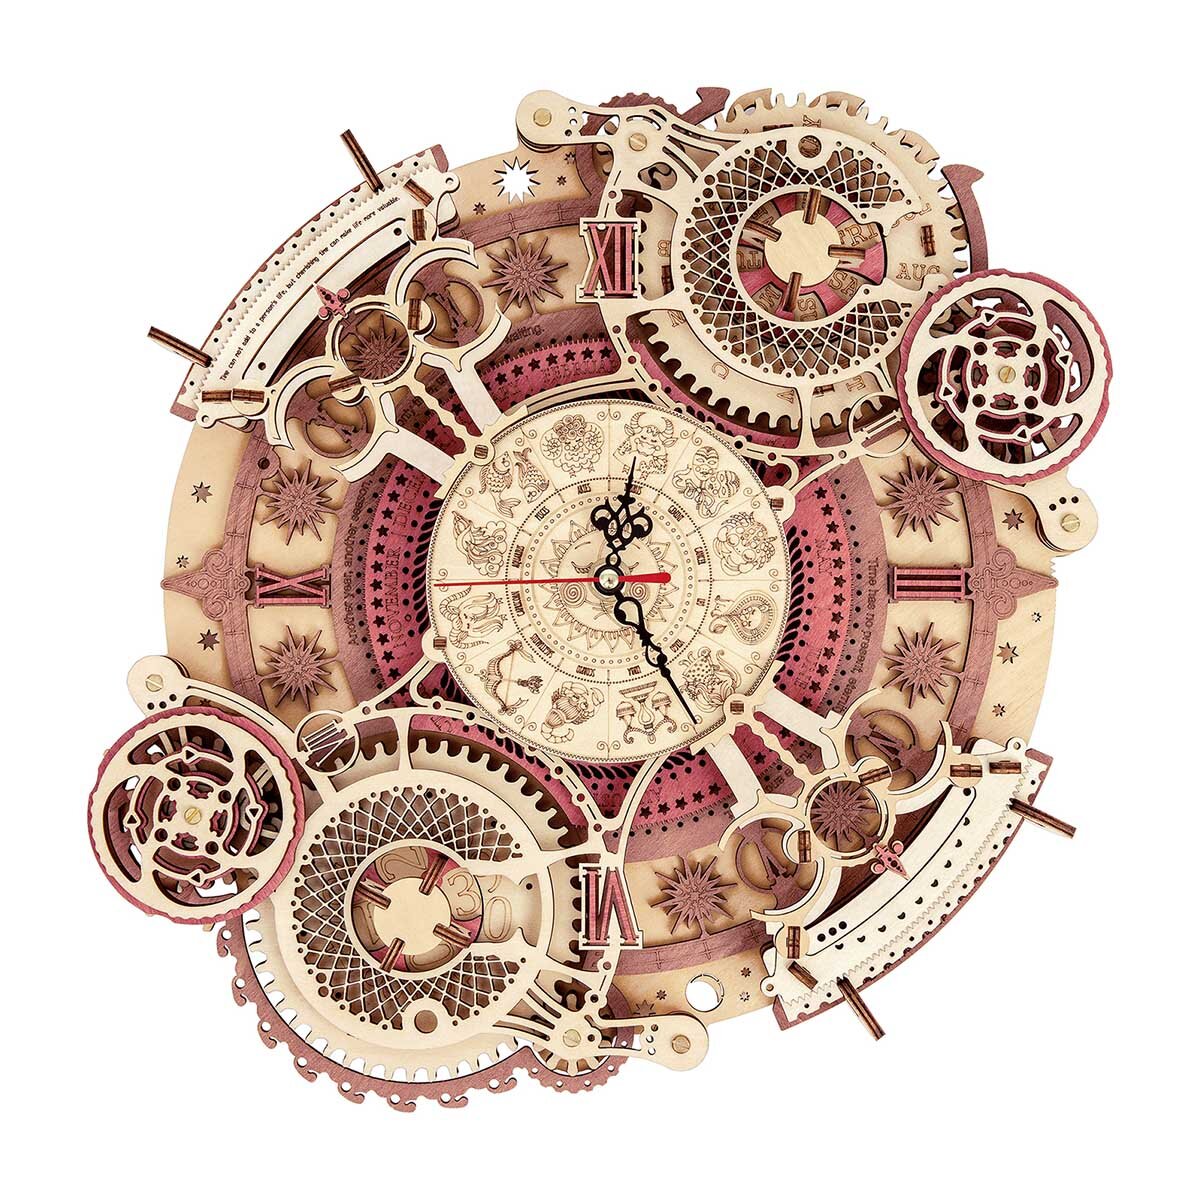
Wooden mechanical 3D puzzle - Wall clock Zodiac ROKR LC601
- Number of pieces: 168
- Assembly time: 4 h
- Difficulty: 3

Wooden mechanical 3D puzzle - Magic Harp ROKR AMK71
- Number of pieces: 350
- Assembly time: 4 h
- Difficulty: 4

Wooden mechanical 3D puzzle - Magic piano ROKR AMK81
- Number of pieces: 223
- Assembly time: 4 h 30 min
- Difficulty: 3
Frequently asked questions
Should I test the mechanism even if the instructions do not show a test?
Test the movement only where the mechanism should already move according to the instructions. Some parts only behave as in the finished model after later steps. If a test makes no sense at that point, at least compare the model with the picture and look from the side to see that nothing rubs.
What can I rub on the gears if I have no wax from the kit?
An ordinary candle, paraffin or beeswax will do. Rub a thin layer on the teeth and axles and wipe off the excess. Do not use oil or spray.
Can I glue the cover so it holds better?
If the instructions do not show glue on the cover, do not glue it. If the mechanism started to rub later, you could no longer reach a glued mechanism without damage.
How many times should I turn the mechanism?
Until you see that the resistance is the same on every turn and every gear is turning. Make the first turns slowly so that you catch a snag before you push against it.