
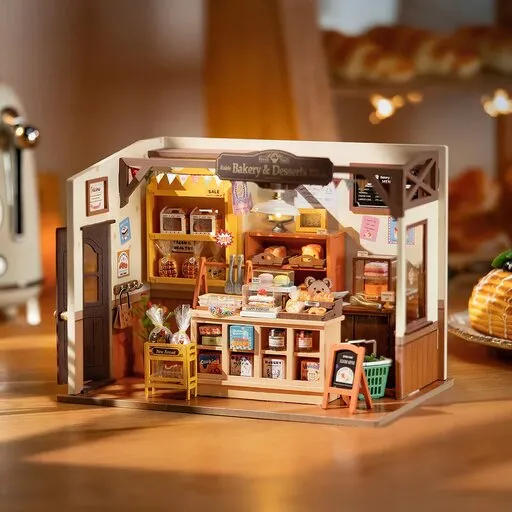

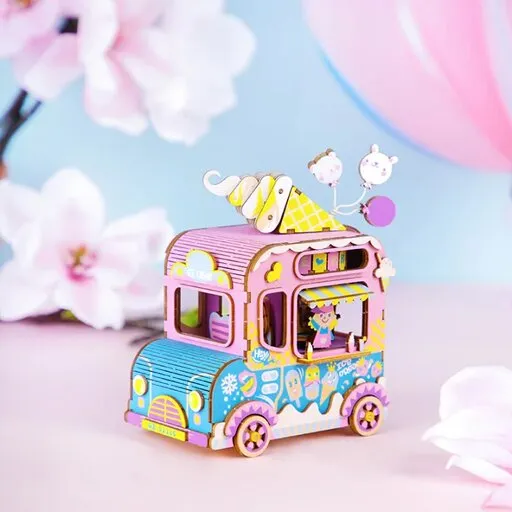
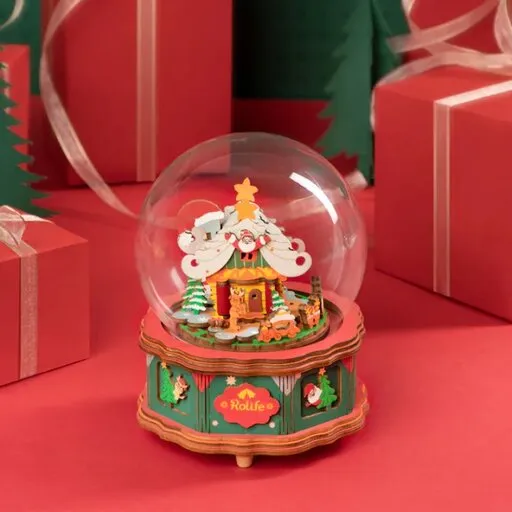








You can find out whether a book nook fits on your shelf with three measurements taken right where you want to put it: the width of the gap between the books, the height from the shelf board to the underside of the shelf above, and the depth from the front edge to the back wall. A book nook is a small scene in a narrow box that stands between the books like another volume. Finished book nooks are usually 10 to 15 cm wide, 20 to 28 cm high and 15 to 22 cm deep, but every model has its own exact dimensions.
Before you reach for the tape measure, take a few books out of the spot and leave the books on the shelf above it, because a loaded board can sag slightly in the middle. Subtract at least 1 to 2 cm from the measured height so you can put the model in and take it out, and allow room in the depth for the cable or switch. If all three numbers are still larger than the dimensions of the finished model after subtracting, it will fit.
Contents of the article
- Which three shelf dimensions to measure and what to subtract
- How to set a book nook between the books and what to support it with
- Where the light and cable will run so that nothing sticks out
- What to do if the shelf is not level or is narrower
- How to compare the kit dimensions with your shelf
- Frequently asked questions
Which three shelf dimensions to measure and what to subtract
Measure with a tape measure or ruler and write all three numbers down in centimetres with one decimal place. Kit dimensions are sometimes given in millimetres and sometimes in centimetres, and when comparing it is easy to be off by a factor of ten: 242 mm is 24.2 cm. The table shows, for each dimension, exactly where to measure and what to subtract from the result:
| Dimension | Where to measure | What to subtract | What to watch out for |
|---|---|---|---|
| Height | from the surface of the board to the lowest point above it, at the front and at the back | at least 1 to 2 cm | a trim strip under the shelf, a shelf bracket or a door hinge is often lower than the board itself |
| Width | between the books or between a book and the side panel, at the front edge and at the back | a few millimetres on each side | a switch on the side of the model needs room for a finger |
| Depth | from the front edge of the board to the back panel of the bookcase or to the wall of the room | about 1 to 2 cm if the cable or connector comes out at the back | a back strip or a lamp cable that already runs behind the books |
Measure the height at the spot where the model will actually go, and write down the smaller of the two numbers, front or back. The clearance above the roof is not wasted: you tilt the model slightly when putting it in, and without it you would scrape the roof, chimney or shop sign against the shelf above. If the model has its switch on top, add enough clearance to reach it with a finger.
Measure the width only after taking the books out, at the front edge and at the back by the wall. The books at the sides often lean slightly, so the gap at the back is often narrower than at the front. The smaller number is what counts. Measuring the depth once is enough: ordinary bookcases are about 25 to 30 cm deep, so there is usually plenty of room. On shallow photo shelves or shelves with a back strip, however, depth is the first thing that decides.
How to set a book nook between the books and what to support it with
A book nook goes between the books so that it stands on its own. The books at its sides should not hold it, and it should not hold the books. Its base must rest fully on the shelf board, otherwise it will tilt over time and the scene inside will shift. What a book nook looks like inside and what its scene is made of is explained in the article Book nook: a small world between the books on your shelf.
Before you choose a model or start building, you can try out the spot with a mock-up. This shows you how the model will look between the books:
- Build a mock-up. Glue a simple box out of cardboard with the dimensions of the finished model, or stack books of a similar size.
- Put it in place. Slide it into the gap the way you would insert the model, and pull it back out. If it only goes with effort or you have to lift the shelf above, the spot is too tight.
- Line up the front. Move the front of the mock-up level with the spines of the books. If you push the model further in, tall books at its sides can shade its window. If it sits slightly forward, it is easier to catch with your hand or a duster.
- Check the books at the sides. If the books lean into the gap after you take the mock-up out, they will lean on the model too. Support them with a metal bookend, or put sturdier hardback books next to the model.
Leave at least a few millimetres between the model and the books. If you press it into the gap tightly, every time you pull out a book you will scratch its sides, you may bend the thin roof or accidentally press the switch on the side.
Where the light and cable will run so that nothing sticks out
Book nooks are often lit from inside by small LED lights. They are powered either from a battery box or via a USB cable, and the space they need changes depending on where the model has its switch and where the cable comes out. So before measuring, find these three things in the instructions or in the pictures of the model:
- Battery box. It is usually hidden under the base or behind the back wall. You will have to change the batteries one day, so place the model so that you can pull it out without emptying half the shelf.
- Switch. If it is on top, you need room for a finger above the model. If it is on the side, leave a gap next to it. If it is at the back, the model has to stand slightly forward, or you will slide it out every time you switch it on.
- Cable and connector. A USB connector at the back needs about 1 to 2 cm behind the model so that the cable does not bend sharply next to it. A sharp bend at the connector can damage the cable over time.
Tip: Run the cable from the model to the back, then along the back wall behind the books to the side panel, and only there down to the socket or charger. A cable in the colour of the shelf and a few self-adhesive clips under the board will help hide it. Power the model only as its instructions say.
When the model and its cable are in place, look at the shelf from where you look at it most often, for example from the sofa. If you can see the cable or the battery box from there, move the model slightly back or run the cable along another side. If the light reflects off glossy book covers next to it, swap them for books with matt bindings.
What to do if the shelf is not level or is narrower
A shelf can sag in the middle, and a bookcase may not stand perfectly level. You can check both in a minute:
- Sagging. Lay a straight edge, a long ruler or a spirit level on the shelf along its whole length and measure the gap under its middle. That is how much the board sags. Check the shelf above the spot in the same way, because its sag takes away from your height.
- Tilting. Lay a spirit level on the shelf lengthwise and crosswise. If the bubble runs to one side, check that the shelf supports are in the same holes, and pack the feet of the bookcase so that it stands level.
A sagging board is lowest in the middle; the height is greatest next to the side panels of the bookcase. If you are a few millimetres short, move the model closer to a side panel and measure the height again right there. If the shelf tilts and the bookcase cannot be levelled, do not prop the model's base up with books, but with a thin flat pad under its whole surface.
If the gap is narrower or lower than the model needs, try these solutions in this order:
- Move the shelf. If the bookcase has adjustable supports, move the shelf above the model one hole higher and the height grows by the distance between the holes, usually a few centimetres.
- Choose another spot. On a sagging shelf the end position next to a side panel is usually higher than the middle, and the side panel also separates the model from the books on one side.
- Choose a smaller model. Book nooks differ in width and height by several centimetres, so for a narrow shelf it is worth comparing several models.
- Let the front stick out. On a shallower shelf the model can stick out by a centimetre or two if its whole base rests on the board. If the base would overhang the edge, the spot is not suitable.
How to compare the kit dimensions with your shelf
You will find the dimensions of the finished model in the kit description or in the instructions. They are usually three numbers in millimetres or centimetres, and it is not always stated which is the width, which the height and which the depth. For a book nook, the width is the narrow front with the scene, the side you will see between the spines of the books. If you are not sure which number is which, compare them with a picture of the finished model.
Then compare each number with your measurement after subtracting the clearance. Example: the shelf is 26 cm high, after subtracting 2 cm you are left with 24 cm. A model 22.1 cm high will fit, a model 25.1 cm high will not, even though the difference looks small on paper.
To give you an idea of how dimensions vary: according to the description in the shop, the model Bookshelf insert - Magical fantasy corner Rolife TGB14 is 12.2 cm wide, 22 cm deep and about 27 cm high, so it needs a shelf at least 28 to 29 cm high. According to its description, the model Bookshelf insert - Sakura wine alley Rolife TGB11 measures 11.1 × 19.5 × 22.1 cm when assembled, and the model Bookshelf insert - Fall into Wonder Rolife TGB12 15.3 × 19.7 × 25.1 cm. According to the shop data, all three are intended for ages 14 and up.

Bookshelf insert - Magical fantasy corner Rolife TGB14
- Number of pieces: 185
- Assembly time: 3 h 30 min
- Difficulty: 4

Bookshelf insert - Sakura wine alley Rolife TGB11
- Number of pieces: 249
- Assembly time: 3 h 30 min
- Difficulty: 3

Bookshelf insert - Fall into Wonder Rolife TGB12
- Number of pieces: 300
- Assembly time: 5 h
- Difficulty: 5
Size is only one of the things you weigh up when choosing a kit. What to look at in terms of difficulty and number of pieces is covered in the article Wooden 3D Puzzles: How to Choose Your First Building Kit and What to Prepare for.
Frequently asked questions
How big a gap between books is enough for a book nook?
One that is a few millimetres wider than the finished model. Book nooks are usually 10 to 15 cm wide; you will find the exact size in the kit description. Measure the width at the front and at the back, and the smaller number is what counts.
Will a book nook fit in an ordinary bookcase?
The depth of an ordinary bookcase, about 25 to 30 cm, is usually enough. Most often the height between the shelves decides: subtract at least 1 to 2 cm from it and compare it with the height of the finished model.
Can a book nook stick out of the shelf?
By a centimetre or two, yes, if its whole base rests on the shelf board. A protruding front is easier to catch with your hand, though, so it is safer to line the front up with the spines of the books.
Where to hide the book nook cable?
Run the cable from the model to the back and along the back wall behind the books to the side panel, and from there to the socket. Leave 1 to 2 cm behind the model so that the cable does not bend sharply at the connector.