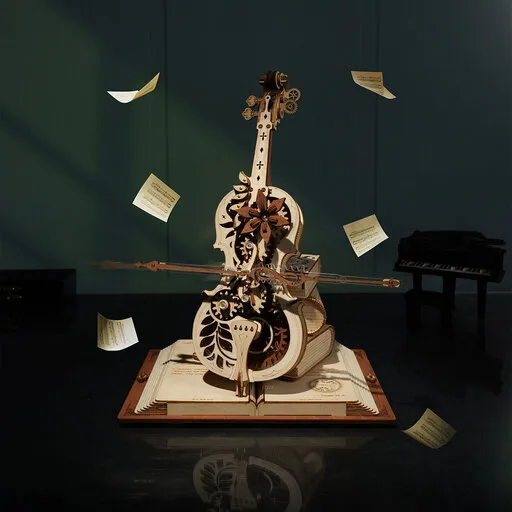
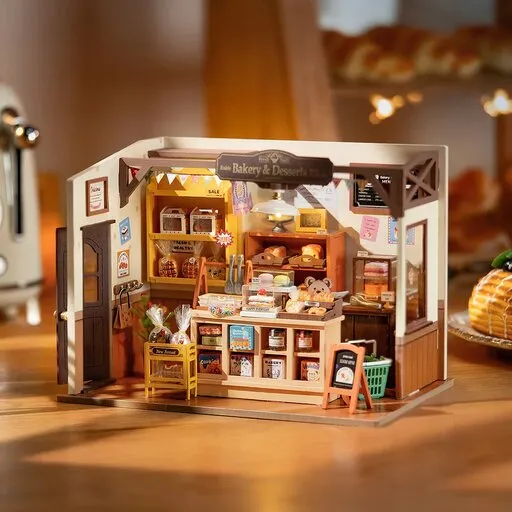
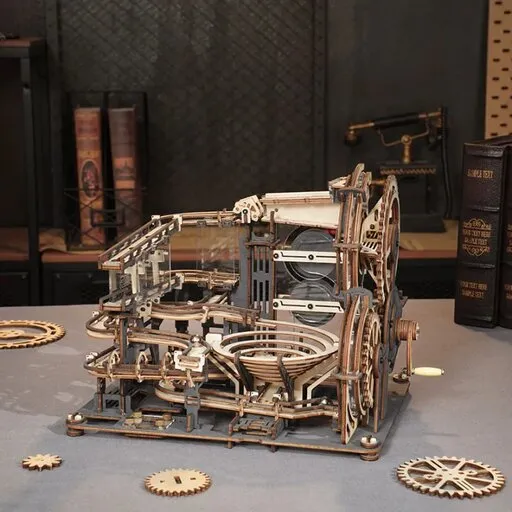
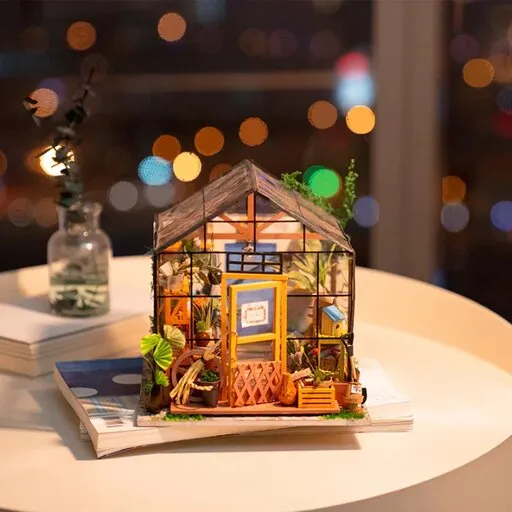






A book nook is a small scene that you slide in between the books on a shelf so that it looks like a window into another world: a night-time alley, a bookshop or an enchanted little shop. You can have one at home too, because it takes up only a narrow gap in the row of books. You can assemble it from a kit or come up with it from scratch.
We will explain where the idea comes from, why a small scene looks deep, what themes people build most often and what to think through before you start your first nook: the place on the shelf, the power for the light and the time.
Contents of the article
What a book nook is and where it comes from
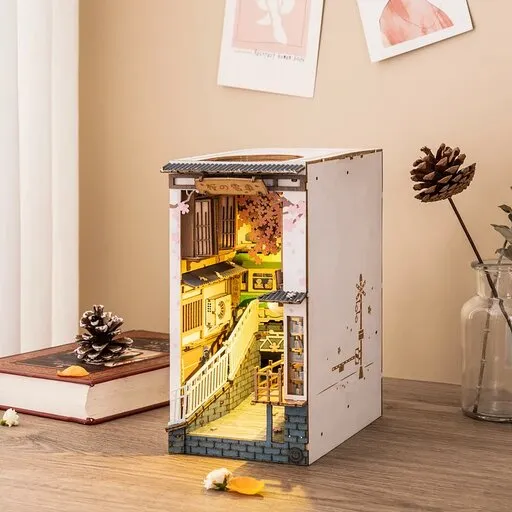
A book nook, also called a bookshelf insert, is a diorama, that is, a three-dimensional miniature scene in a narrow box that you look at from the front as through a window. It is designed to fit between books. It resembles a bookend, only it stands in the middle of the row and not at its end.
According to the sources available, this form spread around 2018, when a Japanese designer made wooden inserts that showed Tokyo back alleys and fitted between paperback books. The photos spread quickly on social media, especially on Reddit, where a separate community also formed. Other makers began building their own versions, often after famous books, for example as a street from a fantasy novel.
Today you can buy them ready-made or assemble them from a kit. They are also made from materials that are often found at home: cardboard, board or stiff paper. The scene does not have to stand between books: it can also be built as a free-standing box scene on the shelf.
How a small scene creates an impression of depth
The scene is usually only a few centimetres deep, and yet it looks like a street that fades into the distance. The impression comes from several things at once.
- Perspective. Perspective is the way things shrink with distance from the eye. The houses at the back are therefore lower and less detailed than those at the front, although the scene is actually short.
- Light. A dark corner suggests space, and a lit window suggests a room behind it. Small LED lights are used (an LED is a small light-emitting diode) that fit into narrow places, most often in warm white or amber.
- A mirror at the back. Some makers put an ordinary mirror on the back wall and, in front of the scene, at some distance from it, a see-through (one-way) mirror that you look through into the scene. The mirrors reflect each other, so the scene looks like an endless road. Do not put the see-through mirror right at the front, because it would reflect the light from the room.
- Scale. Scale is the ratio of real size to reduced size. Objects at the same distance should have the same scale, otherwise the scene stops being believable. If you add an object of your own, first hold it up to the finished parts and compare.
That is why it pays to think about light and scale first and only then add small details. We also write about how to change the mood of a finished scene with light in the article on Halloween decoration for a miniature house.
What themes people build
Themes vary. These often appear in the sources and can be built from a kit as well as from cardboard.
| Theme | What the scene shows | What makes it believable |
|---|---|---|
| Night-time alley | a narrow road between houses with lit windows | the houses at the back are lower and the light in the windows suggests rooms |
| Bookshop or library | shelves, a sofa and racks full of tiny books | paper details and wooden shelves at the same scale |
| Café or tea house | a shop window, small tables and lanterns at the entrance | warm light at the entrance and a darker corner at the back |
| Fantasy shop | a wizard’s workshop, a tavern or a secret door | tiny props and unusual colours |
| Forest or garden | trees, a path and small animals | a path that fades into the distance, possibly a mirror at the back |
If you do not know what to choose, start from a book you really love or a place you would like to visit. A theme you enjoy will help you stay the course with small details too.
What to consider before your first nook
Before you start building or ordering anything, go through these points.
- Place on the shelf. Measure the width of the gap, the height of the shelf and its depth, and compare them with the size of the scene in the kit description or in the plan. The scene slides in between the books, so leave them on both sides so that they hold it firmly.
- Power for the light. The light usually runs on batteries or is powered by a cable. Find out where the battery compartment or the cable will be and whether you can reach it when the scene is between the books.
- Time. Depending on complexity, assembly takes from a few hours to a few evenings. You will find the figure for a particular kit in its description.
- Tools. If you make one yourself from cardboard, you need a sharp knife and a cutting mat. The tools are covered in the article on tools for assembly. The author of one of the board methods glues the parts with a hot glue gun (a tool that melts a glue stick) and protects her fingers with special finger guards.
- Experience. If you are only considering miniature builds, the basics are in the article on what you need to know before building.
Tip: First try holding a cardboard box the size of the scene up on the shelf. You will see straight away whether it fits and whether the books on the sides hold it.
Kits for a first book nook
If you want to start with a kit, look at a few details before you choose it. They will help you work out whether you can manage a first build without frustration.
- Difficulty and time. For a first build, choose a kit with a lower difficulty and a shorter assembly time.
- Recommended age. The catalogue states the age from which the kit is intended. Stick to it.
- Light. Find out whether the kit includes a light and how it is powered.
- Glue. Some kits need it, others do not. Check the description.
- Theme. Choose a scene you enjoy, even if it is not the smallest.
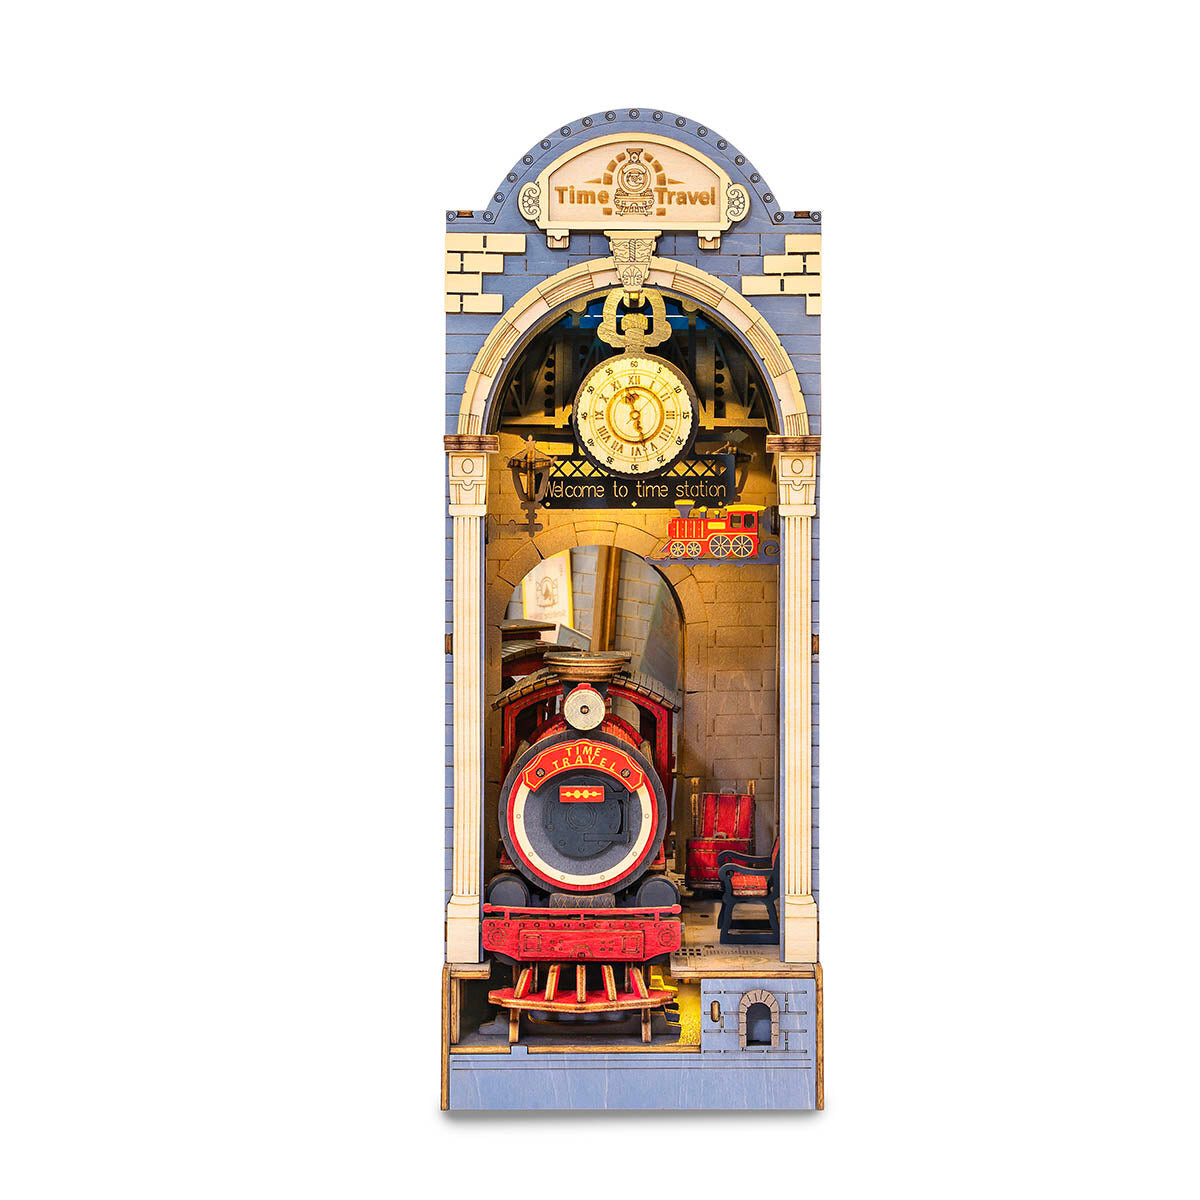
Bookshelf inserts for a first build
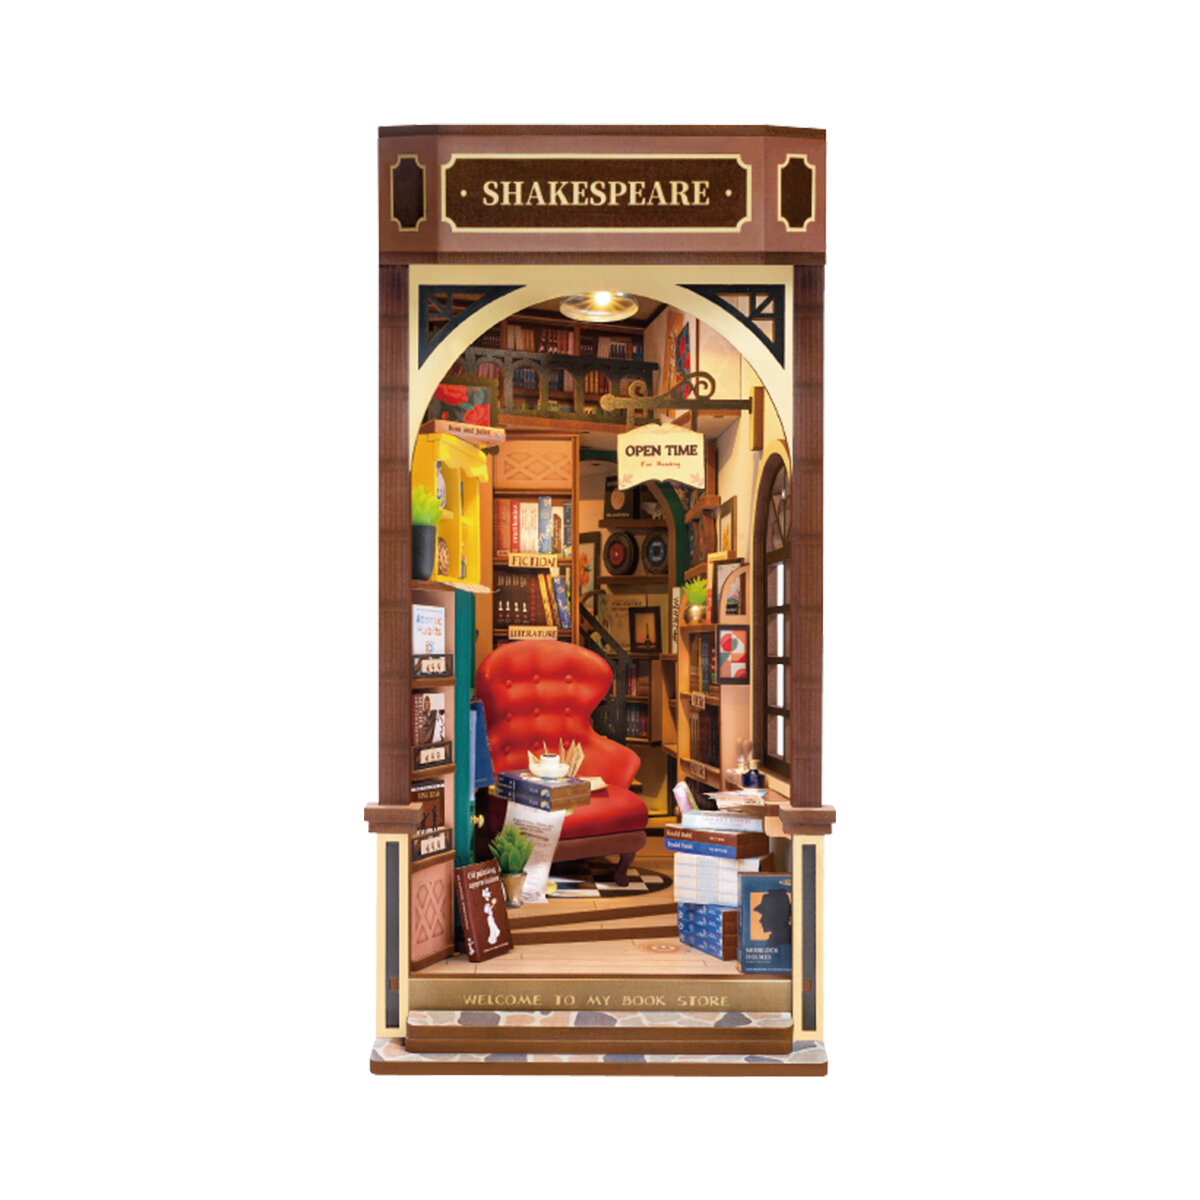
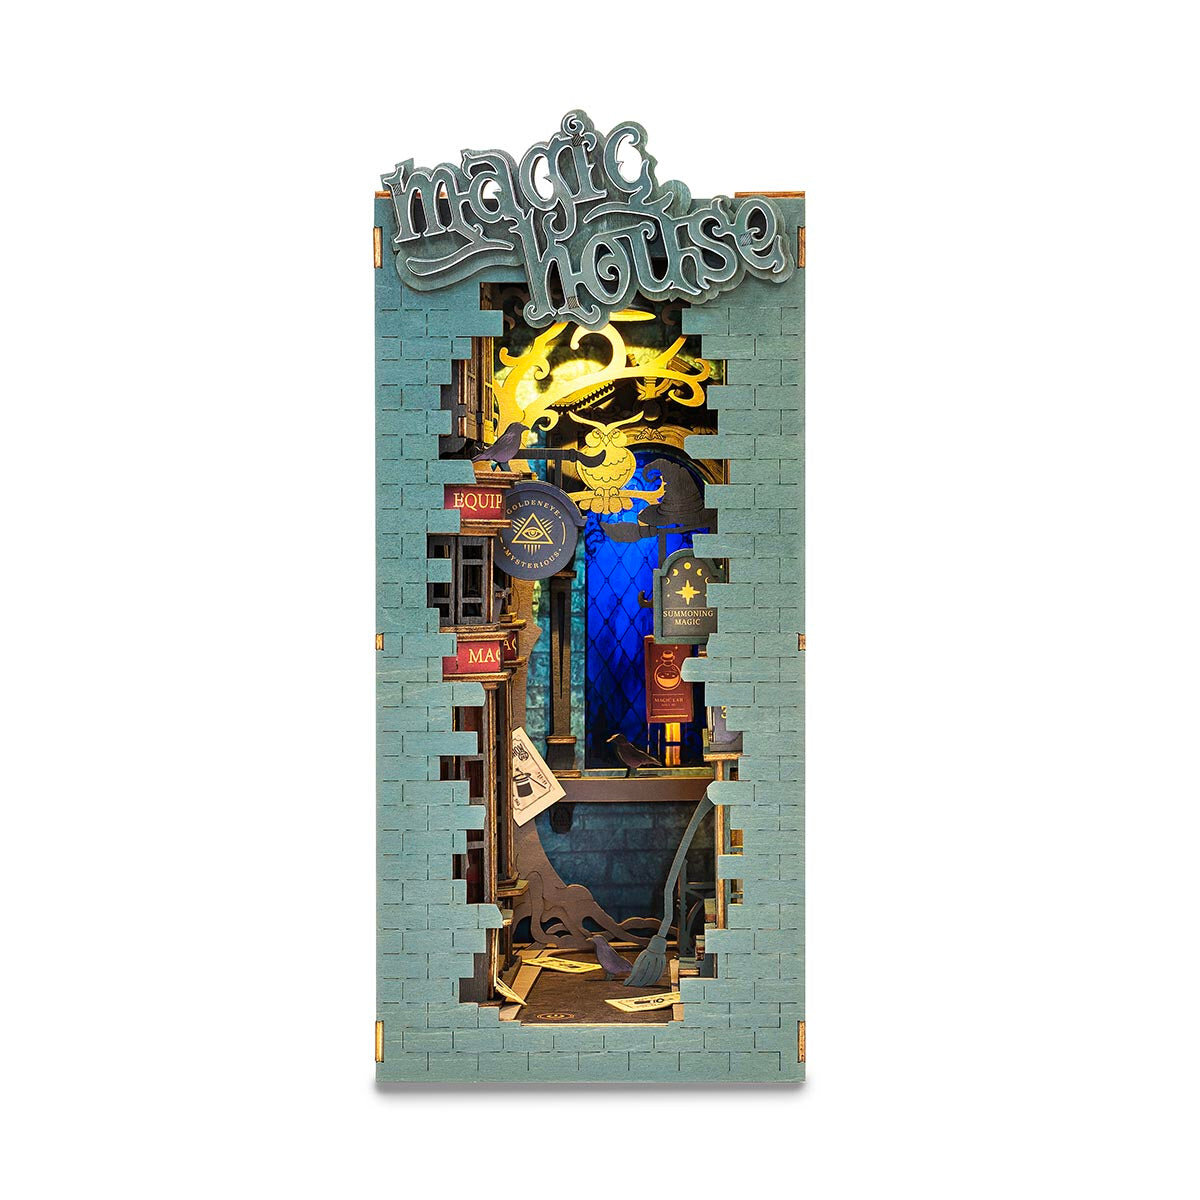
Bookshelf insert - Magical House Rolife TGB03
- Number of pieces: 216
- Assembly time: 4 h
- Difficulty: 1
Frequently asked questions
Does a book nook have to stand between books?
No. It is meant for the gap between books, but it can also be built as a free-standing box scene on the shelf.
Is glue needed for the build?
It depends on the kit: some need glue, others do not, so check the instructions or the description. In the board method, the parts are glued with a hot glue gun.
How does a book nook differ from a miniature house?
A book nook is a narrow scene that slides in between books and is viewed from the front. A miniature house is usually a free-standing build that stands on a shelf or a table.