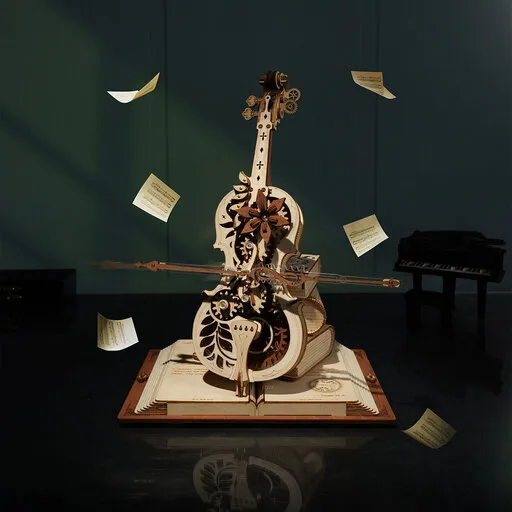
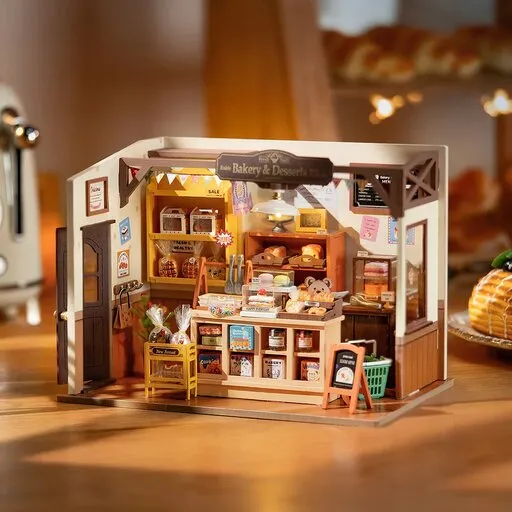
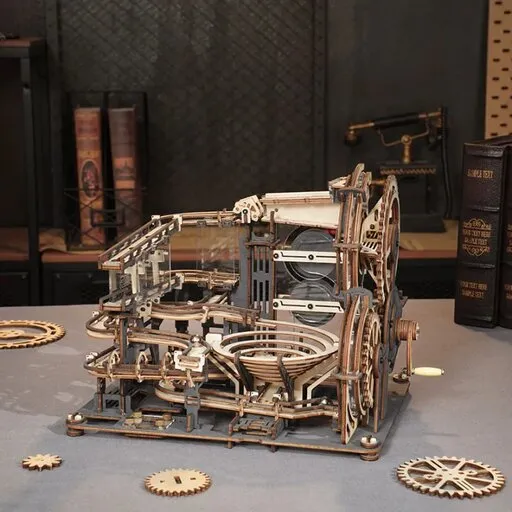
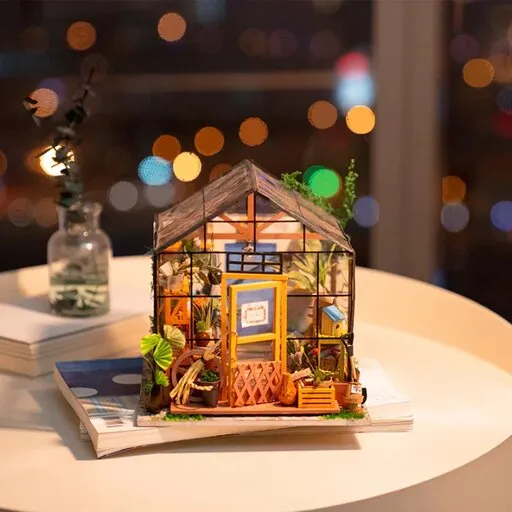
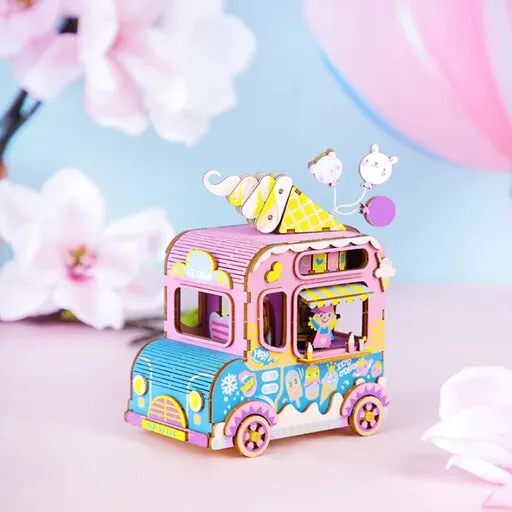
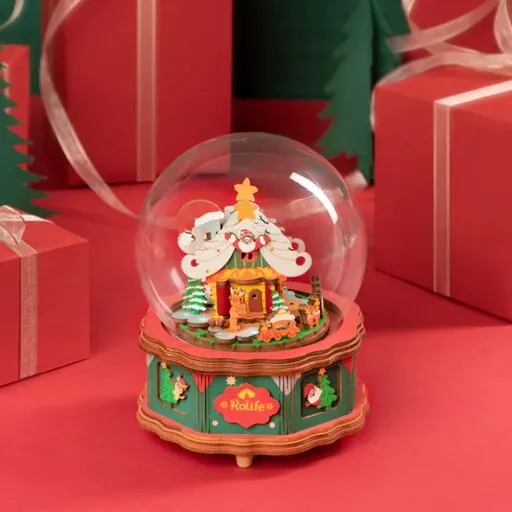
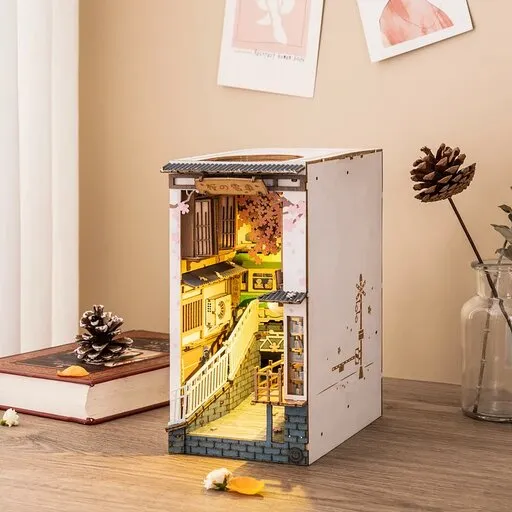





You can decorate a finished miniature house or book nook (a small scene tucked in between books on a shelf) for Halloween without any risk of damage, as long as you glue nothing directly onto it. You change the light and add small things made of paper and wire that stand or hang next to the model, and when the holiday is over you simply put them away.
We show you how to change the mood of the scene with warm light and colour, what you can make from things you usually have at home, how to hold the extras in place without harming the model, and how to remove them without a trace after 31 October. At the end you will find one simple idea to start with.
Change the light first, add the extras later
The light makes a bigger difference than the number of decorations. A scene in the harsh light of a room looks like a finished model; a scene glowing in a warm tone looks like a home with an evening life. One rule always applies: no flame. Paper, wood and cardboard burn, so use only battery-powered LED lights.
- If the model has its own light, leave it as it is. Try how it looks when you loosely lay a piece of translucent orange tissue paper (the thin, soft paper used for wrapping parcels) in front of the window. Do not glue the paper.
- If the model has no light, use a separate battery-powered LED candle or a short micro LED string. Look for warm white, which means roughly 2700 to 3000 kelvin (kelvin is the unit in which the tone of light is given). That tone feels like a candle or a lamp.
- If there is a spot in the window that is too bright, add a second layer of tissue paper or move the light back a little. The light then spreads more evenly.
- Only when the light is the way you want it, add the first extra and check that the light does not hide it.
Tip: Take a photo of the scene with your phone. In the photo you will straight away see what is too big, too bright or badly placed, which you might not notice in person.
What you can make from paper, wire and leftovers
You do not need any special materials for the decorations. Black and orange paper, thin wire, scraps of cardboard and leftovers from other kits are enough, for example loose wooden parts or the cardboard frames the parts came in. You cut paper and cardboard with a sharp knife; the tools are covered in the article about tools for assembly.
| Extra | What to make it from | Where to put it so that nothing gets damaged |
|---|---|---|
| Bats | black paper or thin cardboard | hang them on a thin thread from the shelf above the scene or from a hook on the wall, not from the model |
| Pumpkins | orange paper and cardboard scraps | stand them on the shelf in front of the model, on a cardboard base |
| Pile of leaves | pieces of orange, red and brown paper | lay it in front of the entrance on the shelf, not inside the model |
| Bare branches | thin wire or paper clips | push them into a cardboard base that stands next to the model |
Keep the extras small, because the scene is at a small scale. Put each one next to the model first and check whether it looks too big.
- Bats: cut silhouettes with spread wings out of black paper and hang them on a thin thread.
- Pumpkins: make little balls out of orange paper, stuff them with paper and draw a face with a thin marker.
- Leaves: make a small pile from pieces of paper in warm tones, lying by the entrance.
- Bare branches: twisted wires turn into a little tree or a fence.
How to hold the extras in place without gluing onto the parts
Glue, tape or sticky tack can leave a mark on raw wood or paper that cannot be removed. So build everything next to the model, not on it.
- Put the extra on the shelf so that it stands on its own, for example on a base of folded paper that gives it stability.
- If an extra has to be held in place, use a little museum putty, a soft putty that temporarily holds small objects. Apply it only to a smooth, varnished surface of the shelf, not to raw wood, paper or a freshly painted surface.
- Before you use the putty for real, test it in a hidden spot, for example under the shelf, and leave it there for at least a day. Then remove it and check whether a stain or a change in gloss is left.
- Lay the light’s cable over the edge of the shelf and leave it loose, so that it does not have to be fixed to the model.
- Tap the shelf. If an extra moves, give it a bigger base, not more putty.
How to remove the decorations after the holiday without a trace
The same procedure, only in reverse. First switch off and take out the light, then remove the extras, and finally check the shelf and the model.
- Take the extras down from the threads and put them in a flat box where they will not get creased.
- Remove the putty by gently twisting and lifting, not by pulling straight up. Take the remainder off the shelf with a fresh piece of putty that you lightly dab on it.
- Take the tissue paper out of the windows and fold it; if it is undamaged, it can serve again next year.
- Wipe the model and the shelf with a dry soft brush to remove the dust that gathered during the decorating.
One idea to start with
If you do not know where to begin, try this procedure for one evening. Black paper, orange tissue paper, thread and an LED candle or a micro LED string are enough.
- Cut out three bats of different sizes from black paper and hang them on thread above the scene.
- Loosely lay a layer of orange tissue paper in front of the window and switch on the LED light.
- Switch off the main light in the room and look at the scene from the place where you usually see it. Adjust the position of the bats accordingly.
If you are only just planning to build a miniature house, have a look at the article on what you need to know before building.
If you want to try the idea on a scene you do not have yet, have a look at Bookshelf insert - Bookstore Rolife TGB07. According to the data in the shop it has 194 pieces and takes about 3 hours to assemble.
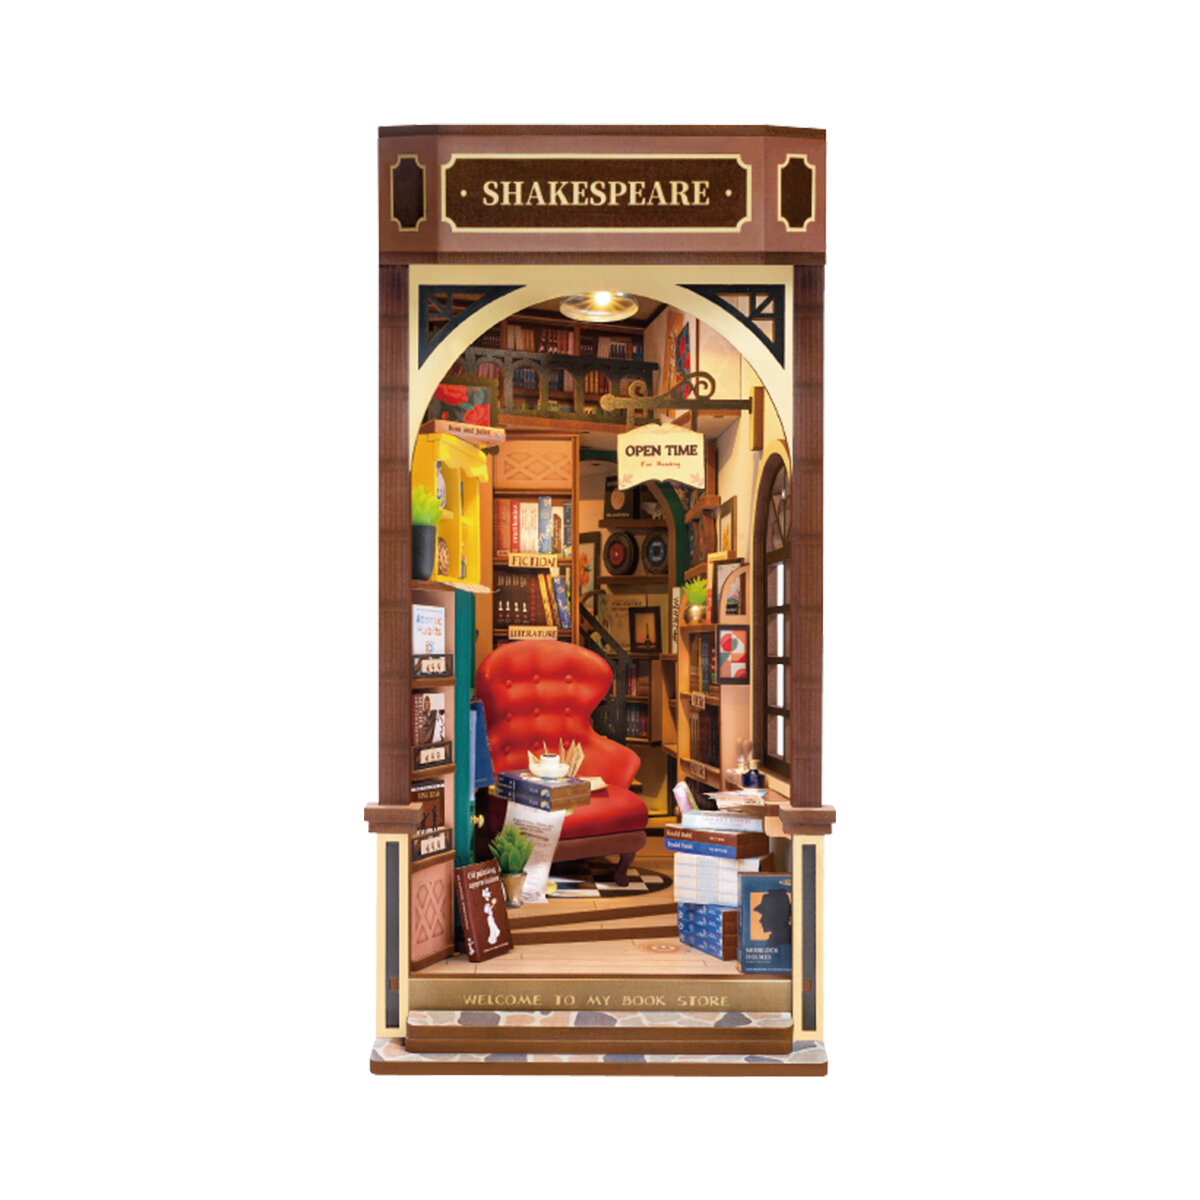
Bookshelf insert - Bookstore Rolife TGB07
- Number of pieces: 194
- Assembly time: 3 h
- Difficulty: 1
Frequently asked questions
Can I put an ordinary candle inside a paper decoration?
No. Paper, wood and cardboard burn, and a flame can also discolour them. Use a battery-powered LED candle, which gives off no heat and has no flame.
What should I do if my model has no light of its own?
It can be lit from outside: a small battery-powered LED light or a short micro LED string behind the model or at its side. Choose warm white, which feels cosy.
How long can I leave the decorations on the shelf?
Paper extras collect dust and can fade in the sun, so after the holiday it is better to take them down and keep them in a box until you need them again.