









A thin wooden petal cracks when you bend it fast and hard or push it into a groove it has not seated in yet. Shape it slowly and in small steps, hold it just above the narrow neck that goes into the groove, and when it starts to resist more or a hairline crack appears on the wood, stop.
Before you bend the first petal, find in the instructions which way it should curve and which side faces out. Then assemble the stem, petals and leaves step by step in the order from your flower’s instructions and turn each part the way the picture shows. On many wooden flowers the petal holds in the groove without glue, and when one does break, a clean break can be glued.
Contents of the article
Where a petal cracks and how you spot it early
A petal breaks at its thinnest point. On a wooden flower that is often the narrow neck that goes into the groove in the flower centre or on the stem, and the spots where the petal was held in the sheet by tiny tabs.
A hairline crack can appear even before bending, when you pop the petal out of the sheet. It is tiny and easy to miss, but bending can turn it into a break. So inspect the petals first and pop them out with care:
- Hold the sheet up to the light. A petal with a hairline crack or a half-torn tab should be popped out with extra care and later shaped only into a gentler curve.
- Lay the sheet flat on the table. In the air the sheet flexes and a thin petal bends before you free it from the sheet.
- Push from behind and support from the front. Push the petal with your thumb from the back of the sheet and support it from the front with a finger of the other hand. If the petal has several tabs, free them one by one. When the petal resists, do not add force; look for the tab that still holds.
The second risk point is the groove. If the petal’s neck will not go into the groove, do not force it, and check against the picture in the instructions that you are holding it the right way round and in the right direction. A petal pushed in by force bends right at the neck, where it is narrowest.
How to shape thin petals step by step
A petal does not take its shape in one move. The curve builds gradually from several gentle bends, because the wood fibres need time when bending. Petals of some wooden flowers have alternating cut grooves or zigzag notches that let them flex a little.
- Find the direction. On the picture in the instructions, check whether the petal curves in toward the flower centre or out, and which side is the face. If you cannot tell from the drawing, compare the petal with the picture of the finished flower.
- Hold the petal above the neck. With the thumb and index finger of one hand, hold the petal just above the neck. The part breaks at its thinnest point, where it enters the groove, and this keeps the bend from reaching it.
- Bend slowly and gently. With the fingers of the other hand, gently curve the petal, and if it has cut grooves or notches, right in that section. Do not make the bend in one quick move, but gradually. Then release the petal and see what curve it holds.
- Compare with the picture. When the curve is smaller than in the picture, go over the petal once more just as gently. Several gentle passes are safer than one strong one.
- Watch for warning signs. When the petal starts to resist more than a moment ago, or fibres begin to lift on the outside of the curve or a hairline crack appears, stop bending. Seat such a petal with the curve it already has.
When a petal is stiff and springs back flat, more force will not help — more gentle passes will. As a support you can use a round pencil or marker: lay the petal on it and gently press it around with your fingers. A round support touches the petal along the whole length of the bend, so the bend is not concentrated in one spot. A smaller curve than in the picture is still better than a broken petal.
Do not soak or heat the petals unless the instructions for your flower expressly recommend it. Wood takes up moisture and swells, so a damp petal can bind in the groove and be harder to slide in.
Tip: Shape the petals on a flat table in daylight or under a good lamp. In poor light a hairline crack on thin wood is easy to miss.
In what order to assemble the stem, petals and leaves
The order of the stem, petals and leaves is set by your flower’s instructions — follow them step by step: a part seated later can cover a groove that belongs to a part from the previous step. When assembling, this helps:
- Parts only for the next step. Pop out of the sheet only the parts that belong to the next step of the instructions. The part mark is usually printed on the sheet frame, not on the part itself, and similar petals are easy to mix up once they are out.
- Orientation from the picture. Before each step, check which side and which way the part sits in the picture, and if the part has an arrow or a cut-out, find them in the picture too. Hold the flower turned the same way as in the picture. When you set it down or turn it differently, you easily lose where the part belongs.
For a bouquet, first assemble each flower on its own and only then join them into the whole. Stand a finished flower in a glass for now so you do not lay it on its petals while you build the next one.
How to secure petals so the flower keeps its shape
On many wooden flowers the petal holds in the groove by friction, without glue. The flower keeps its shape when every neck is fully seated in its groove and the petals are in the right order and direction.
- Seating. Look at the groove from the side. If part of the neck is still visible, the petal is not fully seated and will loosen when touched. Push it gently with a finger right above the neck, not by the petal tip.
- Direction. Compare the flower with the picture of the finished model. A petal turned the wrong way or seated in a neighbouring groove does not sit straight and changes the flower’s shape, so take it out and seat it again.
- Loosening. If a petal keeps falling out of the groove even though it is fully and correctly seated, the groove is probably a little loose. Only then does a drop of glue make sense.
Glue is the last option, because you cannot undo it. Use white wood glue, put a drop on a scrap surface such as a plastic lid, and transfer a thin layer to the neck with a toothpick. Seat the petal, wipe any squeezed-out glue at once with a slightly damp cloth, and do not move the flower for the first 30 minutes or so.
If you want to add standalone flowers to a bouquet later, check their descriptions. For the Red rose ROWOOD TW042 the description says it can be paired with other flowers from the series into a bouquet; for the Pink tulip ROWOOD TW082 and the Purple moth orchid ROWOOD TW091 it mentions assembly without glue.
Standalone wooden flowers
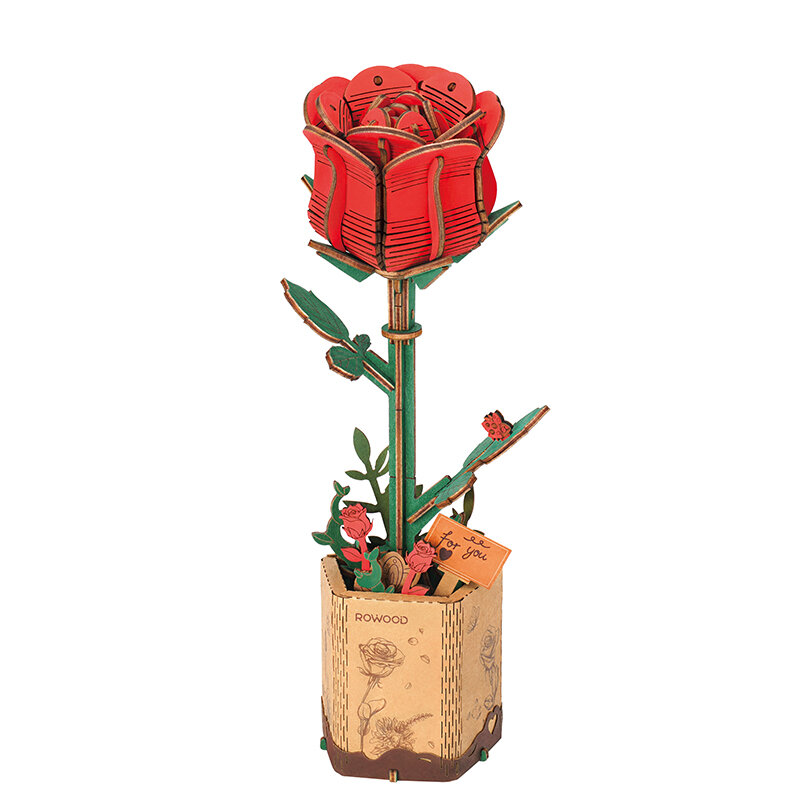
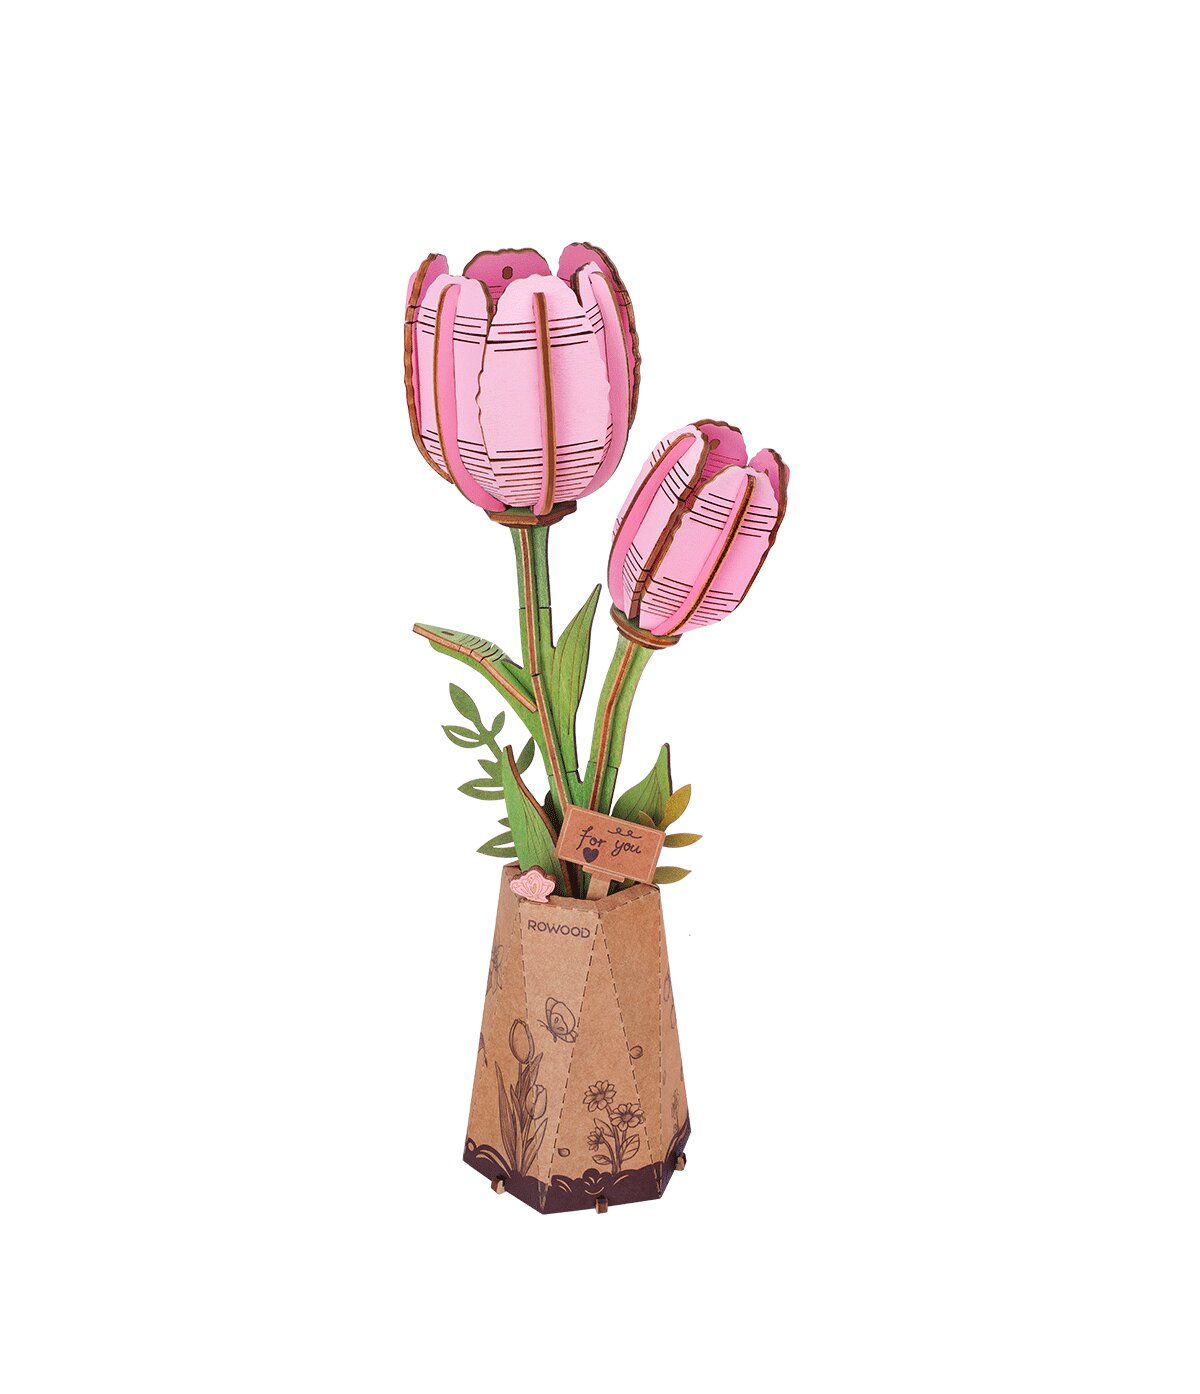
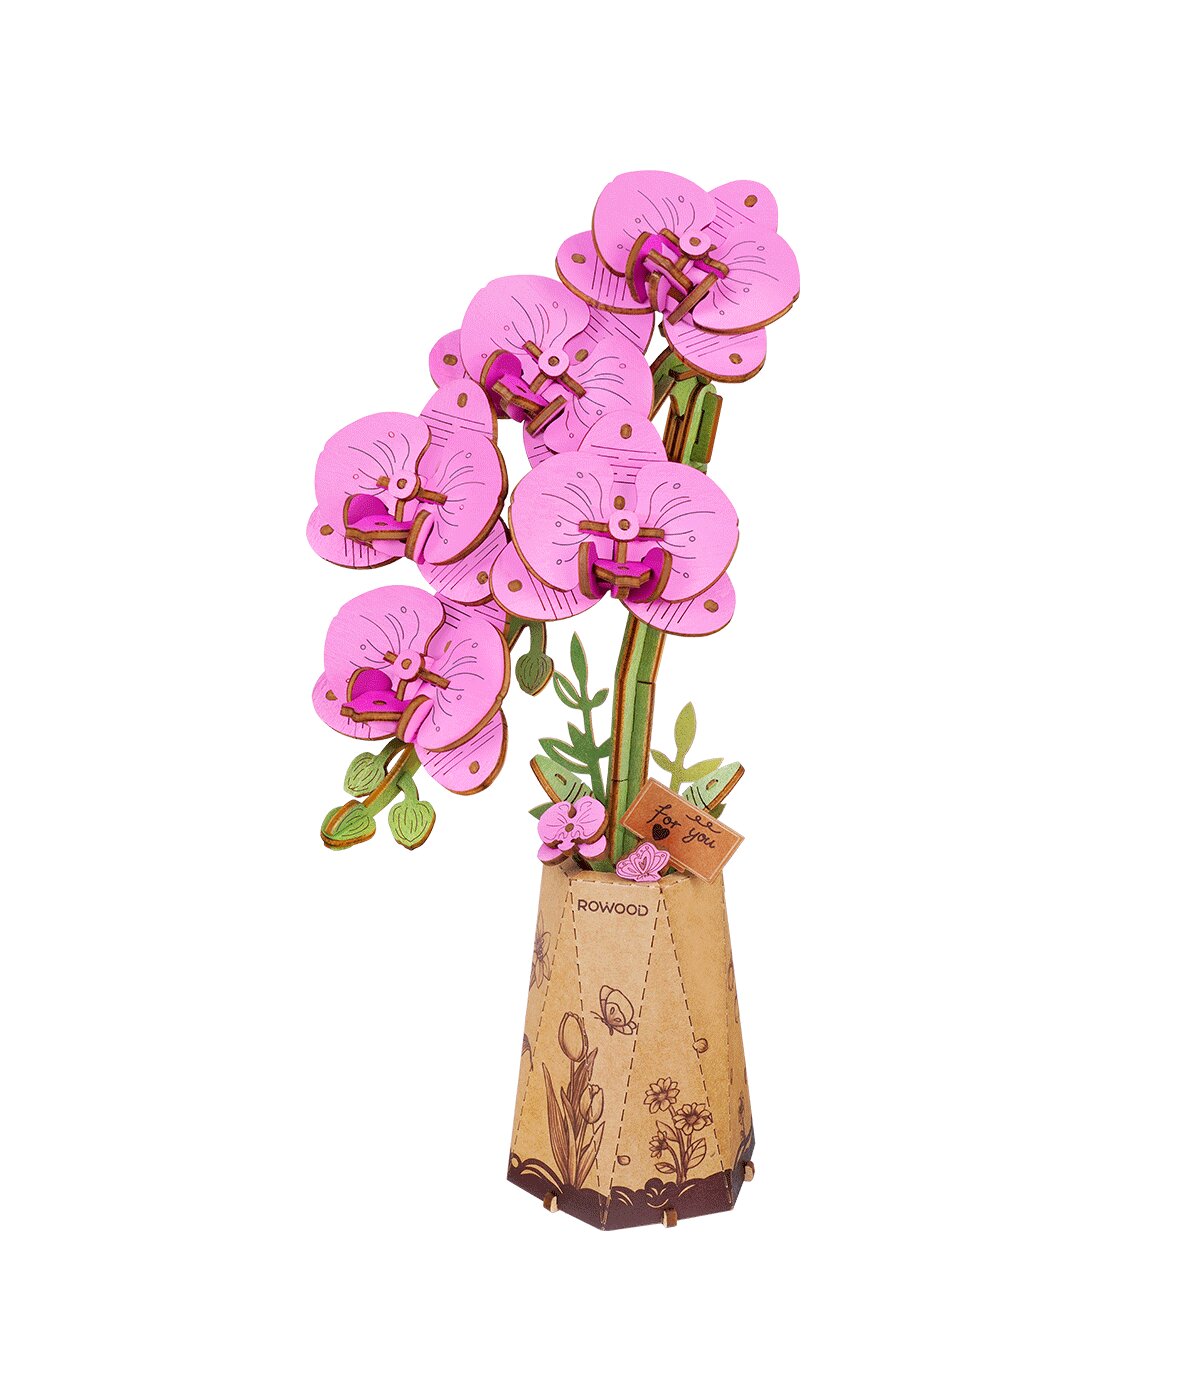
Wooden 3D puzzle - Purple moth orchid ROWOOD TW091
- Number of pieces: 102
- Assembly time: 0.3 h
- Difficulty: 2
What to do when a petal breaks anyway
A broken petal does not mean the end of the flower. Lay the fragments on paper and do not glue anything until you have inspected them: when the edges meet with no gap, it is a clean break and the petal can be glued.
- With a toothpick, apply a thin layer of white wood glue to the break edge. Super glue is not the first choice, because it sets almost at once and is brittle once dry.
- Press the fragments together evenly, not with force, and hold them for about a minute. Wipe any squeezed-out glue with a slightly damp cloth.
- Leave the petal lying flat and do not move it for the first 30 minutes or so. Before you bend or seat it again, let it dry for several hours, preferably overnight.
- Do not bend the glued spot again, because it is weaker than the original wood. Shape the petal only away from the joint, or seat it with a smaller curve.
If the neck that holds the petal in the groove broke, or a fragment is missing, the glued joint may not hold in the groove. Then it is worth asking the maker for a replacement part; the contact is usually in the instructions. A detailed guide to gluing, reinforcing from the back and requesting a replacement part is in the article Cracked wooden part: how to fix it and keep building.
Common questions
Do I have to glue wooden petals?
On many wooden flowers no — the petals hold in the grooves by friction. Use glue only when a petal keeps falling out even though it is fully and correctly seated.
Can I soak a stiff petal so it bends more easily?
Unless the instructions expressly recommend it, no. Wood takes up moisture and swells, so the petal can bind in the groove. Bend it slowly instead, in several gentle passes, or around a round pencil.
Which part should I start with?
The one your flower’s instructions name. Keep the order of the stem, petals and leaves step by step, and before each step check against the picture which side and which way you seat the part.
Can a broken petal be glued?
Yes, if you have all the fragments and the edges meet with no gap. Use white wood glue in a thin layer and let the petal dry for several hours, preferably overnight.