
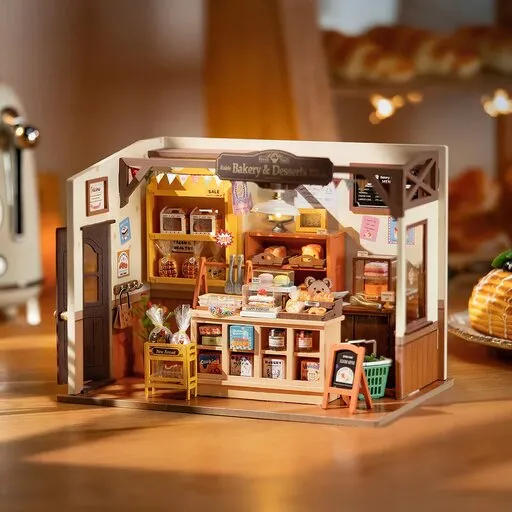
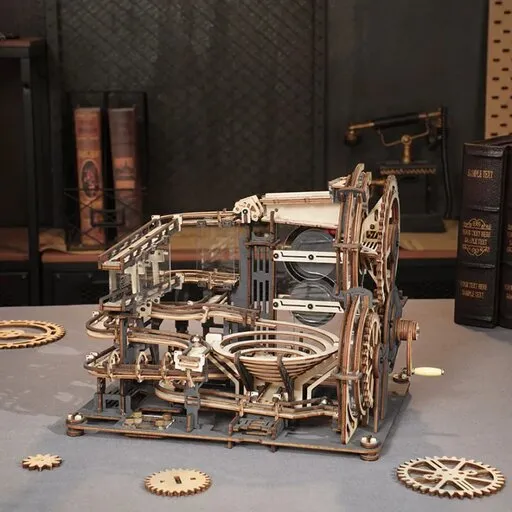

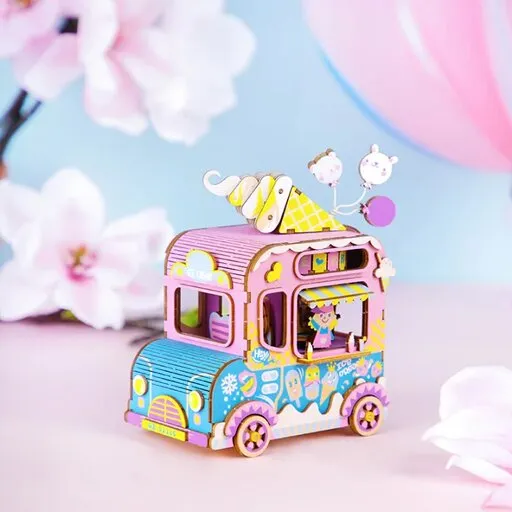

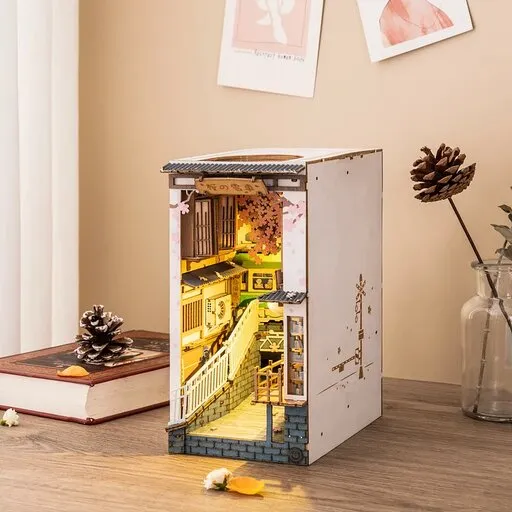







When you have to pause a build for several days, first finish or carefully undo the joint you are working on, so nothing is left pushed in only halfway. Then put the unfinished part on a firm, flat base, store the sheets with parts still in them flat in a box and put the loose parts into bags by the steps of the manual. Put everything away in one place where the sun does not shine, away from the radiator and out of reach of children and pets.
Before you leave, write down the number of the step you stopped at and take a photo of the model. During the break the wood reacts to the damp and heat in the room, so nothing wet or hot should stand near it. When you come back, you compare the model with the photo and with the manual and see straight away whether anything has moved or is missing.
Contents of the article
- What to finish or undo before you leave the build
- How to store sheets and loose parts so they do not break
- How to secure the unfinished part against falls and movement
- Where to put the model so damp and sun do not harm it
- What to write down so you can carry on after the break
- How to check after you come back that nothing has moved or gone missing
- Frequently asked questions
What to finish or undo before you leave the build
An unfinished model is vulnerable mainly in the places that no other part secures yet. Before you put it away, look at it from all sides and look for these situations:
- A part pushed in halfway. The tab, that is the tongue on the edge of a part that fits into the slot of the neighbouring part, is not fully in the slot and you can see a gap between the parts. If the manual shows it in this place in this step, push it in all the way. If you are not sure it belongs here, carefully pull it out and put it with the parts of its step.
- A wall that holds only while you support it. When you take your hand away and the wall tilts, it is missing its counterpart from the next step. Either finish the step, or take the wall out and lay it flat next to the model.
- An unfinished mechanism. If the gears do not yet mesh fully or the axle is not pushed in the way the picture shows, finish the step or return the mechanism to the state in the picture of the previous step. Do not turn it during the break.
- A freshly glued joint. If you glued something, do not move the model until the glue has dried according to the information on its packaging. A joint that moves while drying holds worse.
So take your break at the end of a step, not in the middle of it. How to find such a place in the manual is described in the article A big model over several evenings: how to split the build. For a break of several days the same applies, only how you store the model and the parts matters more.
How to store sheets and loose parts so they do not break
Parts that are still in the sheet are safe. The sheet holds them straight and together, the thin parts have nothing to catch on and the part numbers stay next to them. So do not pop anything out of it in advance during the break.
- Sheets flat. Stack them in the original box or in a flat box that is at least as big as the largest sheet. Do not stand them on edge or lean them against a wall, because they can bend.
- Nothing heavy on top. Do not put books or tools on the box with the sheets. Even light pressure that lasts several days can bend a thin part or break a small tab.
- Loose parts by step. Put the parts you have already popped out into small resealable bags, one bag per step or per section, and write the step number on each. The parts in them do not knock against each other and nothing gets mixed up.
- The smallest parts separately. Put pegs, washers and small decorations into a small container with a lid, for example a pill organiser. From an open bowl you spill them easily and on the floor you search for them for a long time.
- Manual and tools with the parts. Put the manual on top in the box, and the knife with its blade retracted and the tweezers into a small box next to it. Everything for the build is then in one place.
Tip: Before closing the box, count the bags and write the number on the note you put into the manual. After the break you can see straight away whether one is missing.
How to secure the unfinished part against falls and movement
Before the break, put the unfinished part on a firm, flat base, for example a tray, a chopping board or a piece of thick cardboard. When you need to clear the table, you move the base, not the model, and you do not have to hold it by the thin parts.
- Straight, not tilted. Leave a part that stands on its own standing on the base the way it is drawn in the manual. Lay separate sections that are not yet attached to the model flat next to it. Do not stack anything or lean anything against anything else: a joint that tilts or carries another part is still under pressure.
- Away from the edge. Put the base in the middle of the table, shelf or cupboard, not at its edge. Near the edge you can easily knock it off with a sleeve or a bag.
- Out of reach of children and pets. A cat on the table or a curious child can easily knock over an unfinished model, and small parts do not belong in the hands of small children. Choose a higher shelf or a room you can close.
- A dust cover. Cover the model with an upturned clean box that is bigger than the model and does not touch it anywhere. It protects it from dust and from an accidental knock.
If something breaks anyway, the article Cracked wooden part: how to fix it and keep building shows when to glue the part and when it is better to ask for a replacement.
Where to put the model so damp and sun do not harm it
Wood takes in moisture from the air and gives it off again. In more humid air it swells slightly, in drier air it shrinks, and when the humidity and temperature change often, a thin part can warp or crack. Plywood, that is a board glued from thin layers of wood whose grain runs crosswise in alternate layers, keeps its length and width better than solid wood, but it can swell in thickness. A swollen tab then goes into the slot with more difficulty.
So do not put the model and the box of parts in these places:
- by a window where the sun shines: the sun heats the wood unevenly and longer exposure to light changes its colour,
- on a radiator, above it, next to it or by an air-conditioning vent, where heat and dryness alternate quickly,
- in a damp cellar or in the attic, where humidity and temperature change a lot, nor in the bathroom or by the cooker, where there is steam,
- next to glasses and mugs: a spilled drink soaks into the wood, the part can swell and the stain often does not come off.
A good place is an ordinary spot in a lived-in room, for example a shelf or a cupboard, where the temperature stays similar during the day and direct sun does not shine. Parts in closed bags are better protected from changes in humidity than in an open bowl.
What to write down so you can carry on after the break
After several days you will no longer remember what seemed obvious during the build. So on a note that you put into the manual at the page where you stopped, write down:
- the number of the last complete step and what the next one starts with, for example “step 23 done, next the parts from sheet D”,
- the step that was left unfinished and what is still missing from it,
- which sheets and bags are already opened and how many bags there are in total,
- what you glued and when, so you know whether the joint has dried,
- what you want to check after you come back, for example a part that went into its slot with difficulty.
Add photos to the note: the model from the front, from the side and from above, and the open box with the bags. A photo shows the position of the parts more precisely than you can describe it in words, and when you come back you compare the model with it.
How to check after you come back that nothing has moved or gone missing
Before you pick up a new part, bring the box of parts into the room where you will build and do a short check in this order:
- Compare the model with the photo. Look at it from the same sides. If a wall has tilted or a part has slid out, put it back in place before you fit the next one onto it.
- Count the bags and open the last one. If the number on the note matches and the parts correspond to the step, nothing has gone missing. If something is missing, search the bottom of the box and under the base first, and only then carry on.
- Put the sheets on the table. If a sheet lies flat, it is fine. If it has bent, do not force the parts out of it and let it lie flat for a while in the room where you build, so it adjusts to the air there.
- Try the first joint gently. Hold the new part against the slot and press gently. If it goes in without force, carry on. If it goes in with difficulty, do not press: compare it with the picture, because it may be turned the other way, and if it matches, leave the parts in the room for a while and try again.
- Turn the mechanism. If the model has moving parts, turn them slowly by hand before the next step. What to watch for while doing this is described in the article Mechanical model: what to test before you close it.
The break went well when the model matches the photo, the number of bags is right, the sheets lie flat and the first new joint goes in without force. If any of this does not fit, sort it out before you add the next step, because later it is harder to get to that spot.
Frequently asked questions
How long can an unfinished model wait?
What matters is how it is stored rather than how many days pass. Lying flat, in a dry place, away from sun and heat and under a cover, it can wait out a longer break too. After you come back, do the same check as after a short one.
Can I put the unfinished part into the box with the sheets?
Only if it fits in without being squeezed and nothing presses on it. Otherwise leave it on the base under the cover and put only the sheets and the bags of parts into the box.
Should I glue something before the break so it does not fall apart?
No. Glue only where the manual shows it. If something holds only while you support it, rather finish the step, or take the part out and put it with its step.
What if a part does not go into the slot after the break?
Do not force it. Compare it with the picture in the manual, leave the parts for a while in the room where you build and try it again gently. If it still does not go in, check whether it is turned the other way.