











A ship model’s hull stays straight when every cross bulkhead stands square to the keel, that is the long piece that runs down the middle of the ship from front to back, and when it sits fully in its slot. Check this right after fitting the bulkheads, before you add the sides: lay the skeleton on a flat table and look along the keel from front to back. A bulkhead that sticks up, sits lower or leans is easy to fix now; later the side will cover it.
Do not force the thin curved side pieces, and when you slide them in, press on the sturdier spot near the joint. If the instructions allow it, add them alternately to the left and right side, because pieces added to one side only can bend the keel. Check tall parts, such as masts or a funnel, from the front and from the side against the picture in the instructions, and check the whole hull once more before the last small parts on the deck.
Contents of the article
Why a hull twists and how to spot it
The keel is the backbone of the hull, and the bulkheads are cross pieces that stand on it at a right angle and give the hull its shape. When a bulkhead leans or is not pushed in all the way, the next pieces you fit onto it follow its error. The keel itself can be crooked too. You find the cause with four checks:
- Along the keel. Lay the skeleton on a flat table, bend down to its front end and look along the keel towards the back. The top edges of the bulkheads should be at the height shown in the picture in the instructions and in one line. A bulkhead that sticks up out of the line or sits lower is not pushed in all the way or sits crooked in its slot.
- From above. Look at the skeleton straight from above. Each bulkhead should form a right angle with the keel, which you can check with the square corner of a card or of the frame of the sheet you pressed the pieces out of. If you see a wedge-shaped gap between the corner and the bulkhead, the bulkhead leans forwards or backwards.
- From the front and the back. Look at the skeleton from the front and then from the back and compare the left and right sides. They should look like mirror images. If one side is wider or taller, a bulkhead has shifted or is turned the wrong way round.
- The keel itself. Before you start building, lay the keel flat on the table. If it rises in the middle or at one end, it is bent, and the hull would be crooked even if you fitted all the bulkheads correctly.
How to build a straight, symmetrical hull skeleton
The order of the pieces is set by the instructions of your kit, so follow them step by step. Some pieces lock others in place, so if you skip a step, you may not be able to get its piece into place later without force. For the hull skeleton, this method helps:
- A flat base. Build on a flat, sturdy table. On a soft or uneven surface you press on the pieces unevenly and the keel can bend.
- Bulkhead into the slot. Use the markings in the instructions to find the slot the bulkhead belongs in, and check in the picture which side faces forwards. Slide the bulkhead in straight, not at an angle, and press on it just above the slot.
- Check right after fitting. After each bulkhead, check the right angle and the height against the keel. Fix a crooked bulkhead straight away, because the next pieces are fitted onto it and would take over its error.
- When a piece will not go in. Do not force it; a thin bulkhead can break. First check the step in the instructions, which way the piece faces and whether a piece from the previous step sits crooked underneath it. Only when everything is right, go over the edge with fine sandpaper, just enough to remove small bumps, and try again.
- If the kit uses glue. Try the pieces dry first, without glue. Check that the bulkheads are square before the glue dries.
If the keel is bent before you even start, do not carry on with it. It is the piece the alignment of the whole hull depends on, so it is worth asking the manufacturer for a replacement part; the contact details are usually in the instructions.
How to handle thin curved side pieces
In wooden kits, the side of the ship is made of thin, long pieces that bend around the bulkheads as you fit them. Pieces like these are among the most fragile, and if you push on the wood with force, it is more likely to break than to bend.
- Hold it in place dry. First just hold the side piece against the skeleton and see where it rests against the bulkheads on its own and where it pulls away from them. You only need to bend it where it stands off.
- Bend gradually. Bend the piece only a little, hold it in place, and if it still stands off, bend it a bit more. A sharp kink in one spot instead of a smooth curve will show on the side as an edge.
- Bending cuts. Some thin pieces have cuts that let them bend slightly. Bend them exactly in that section and support them from both sides when you handle them.
- Press near the joint. When you slide the piece in, press on the tab or the thicker spot near the joint, not on the thinnest part. Support the skeleton with your other hand so it does not bend under the pressure.
- Alternate sides. If the instructions allow it, fit a piece on one side and then its counterpart on the other side straight away. Alternating keeps the keel from being pulled to one side, and you see straight away whether both sides are mirror images.
- Check the fit. The finished side should rest against every bulkhead. If it pulls away from a bulkhead somewhere or forms a small bump on it, check whether that bulkhead is pushed in all the way and stands straight.
If a thin piece cracks anyway, stop and check whether the break is clean and can be repaired. You will find how to repair it and how to ask for a replacement part in the article Cracked wooden part: how to fix it and keep building.
Tip: Work in good light on a clean, flat table. In poor light it is easy to mix up similar pieces or to miss that a bulkhead sits crooked.
How to fit masts and a funnel so they stand straight
A mast is a tall pole that holds the sail, and a funnel is a tall part on the deck of a steamship. The taller such a part is, the more even a small tilt at its foot shifts its top. So check it from two directions before you finish:
- Dry first. First just put the tall part into its hole or slot, and do not glue anything or force it down. Until it is firmly seated, you can still straighten it.
- From the front or the back. Bend down to deck level and look at the ship from the front or the back. The mast or funnel should stand upright and in the middle of the ship, in one line with the keel. If it leans to the side, its foot may not be pushed in all the way or another piece sits crooked underneath it.
- From the side. Now look from the side and compare the tilt with the side view in the instructions. Masts can be meant to lean slightly backwards, so the picture decides, not a perfectly upright pole.
- Several masts or funnels. From the front, check that they stand in one line one behind the other, and from the side, that each has the tilt shown in the picture. They do not all have to have the same tilt.
- When a part stands crooked. Do not straighten it by bending. Take it out and check whether it is turned the right way round, whether a splinter or a bump is left in the hole and whether the piece underneath it sits straight. Only then use sandpaper, and only gently.
What to check before the last small parts on the deck
Small deck parts, such as railings, cannons or boats, are small and fragile and break easily when you reach over them while working on the model. So stop before them and do a final check. The instructions decide when to fit them, so do the check in the step before them:
- The hull from the front and the back. Look along the ship. The left and right sides should be mirror images and the keel straight. If they are not, look for a bulkhead or side piece that is not fully in place.
- Joints. Run your eyes over all the joints. A piece with a visible gap in its slot is not pushed in all the way or sits crooked, and it can shift the pieces that connect to it.
- Tall parts. Check the masts or funnel once more from the front and from the side against the picture in the instructions.
- Moving parts. If the model has a mechanism, such as the paddle wheels of a steamship, turn it before you cover it with more pieces. If it rubs, you will find the point of friction more easily now, while the pieces are still within reach. The article Sticking mechanism: how to find the friction and fix it describes how to do it.
Ship models you build without glue
If you are still choosing a ship model, the descriptions of these kits state assembly without glue. For the cruise ships Rolife TG306 and Little Story E026, the description also mentions funnels.
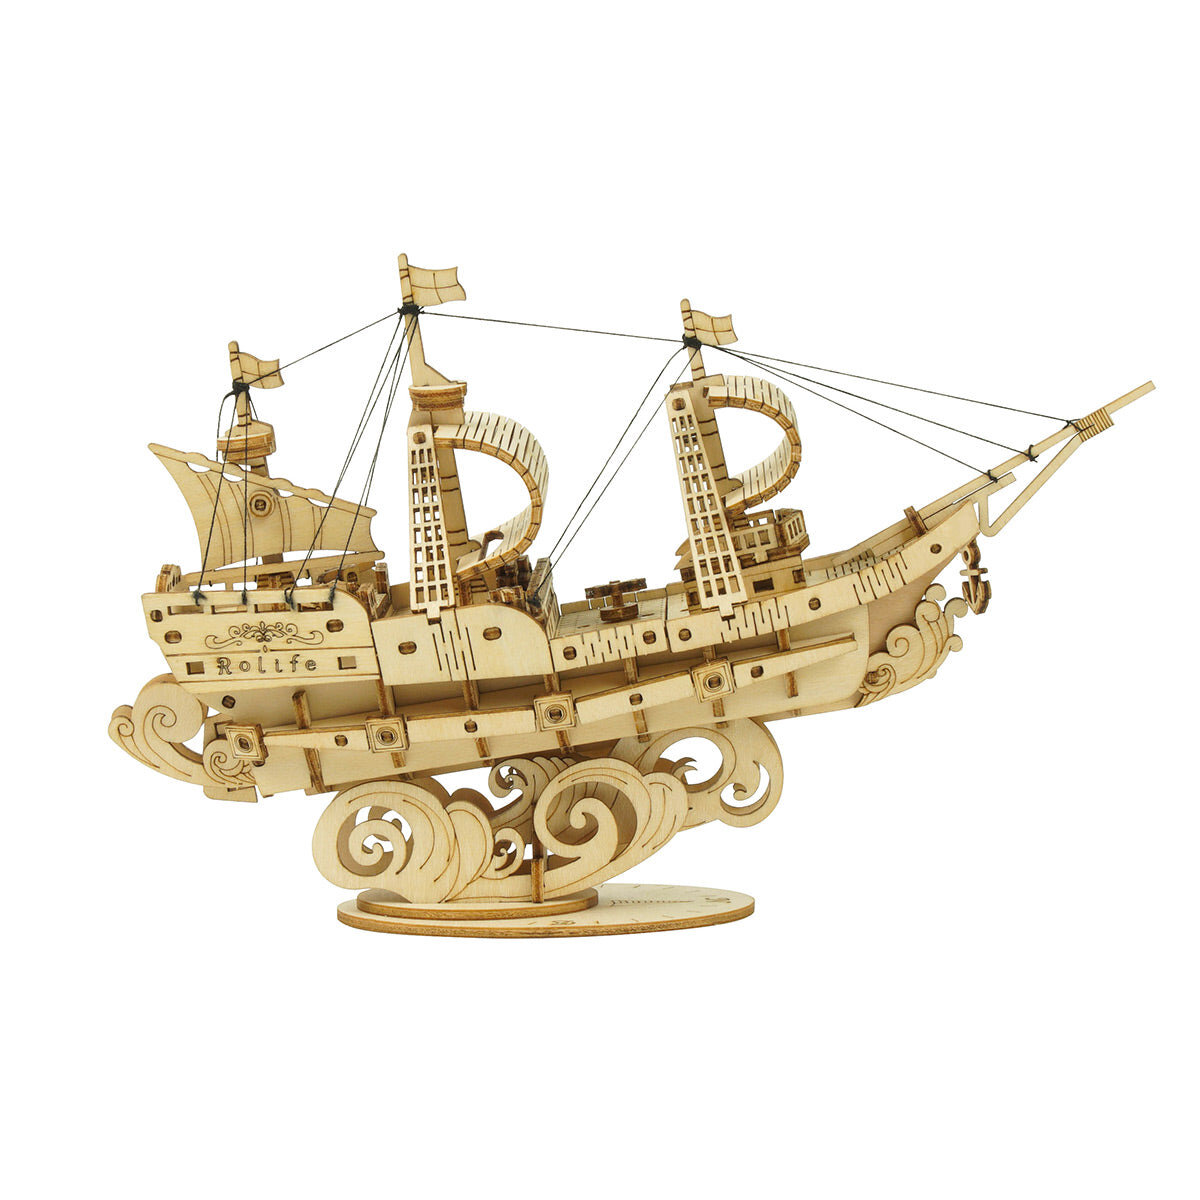
Wooden 3D puzzle - Sailling Ship Model Rolife TG305
- Number of pieces: 118
- Assembly time: 1 h
- Difficulty: 2
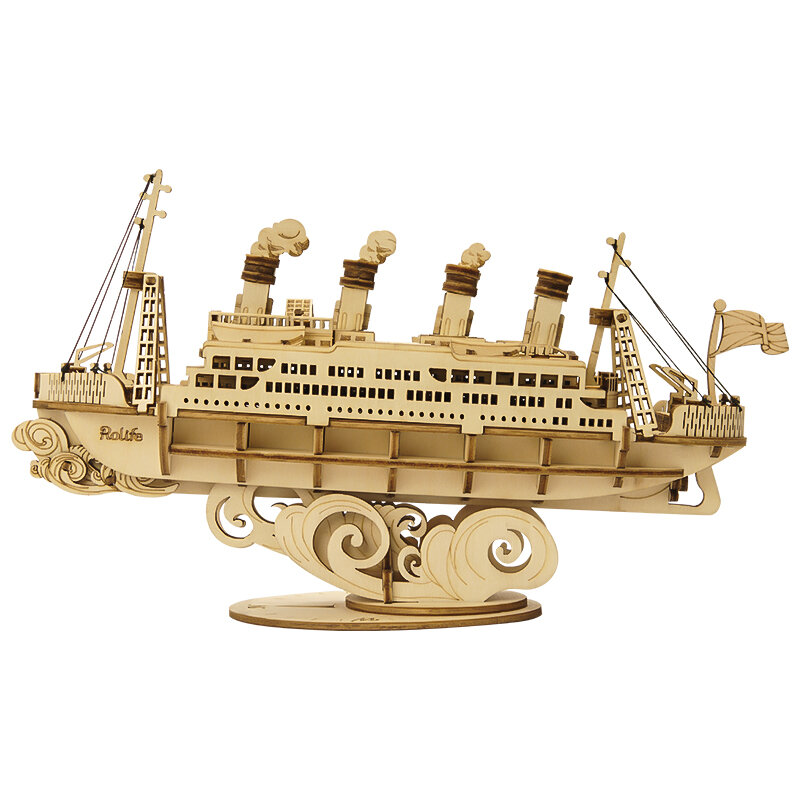
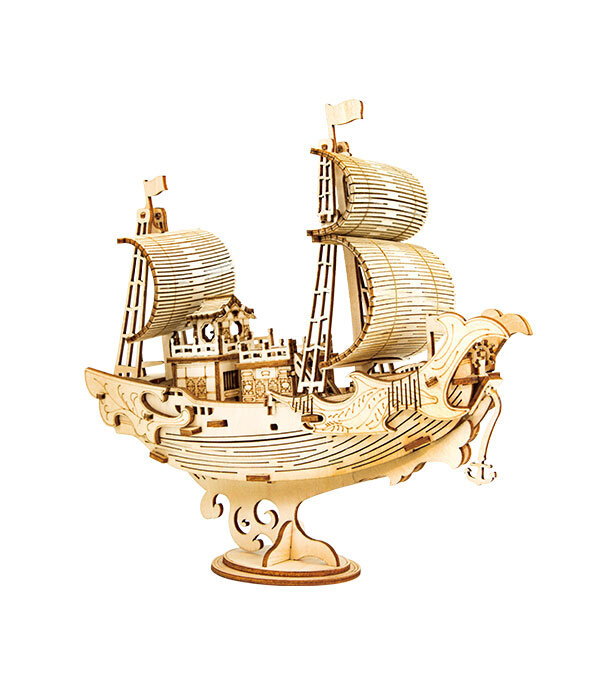
Wooden 3D puzzle - Japanese diplomatic ship Rolife TG307
- Number of pieces: 118
- Assembly time: 1 h
- Difficulty: 3
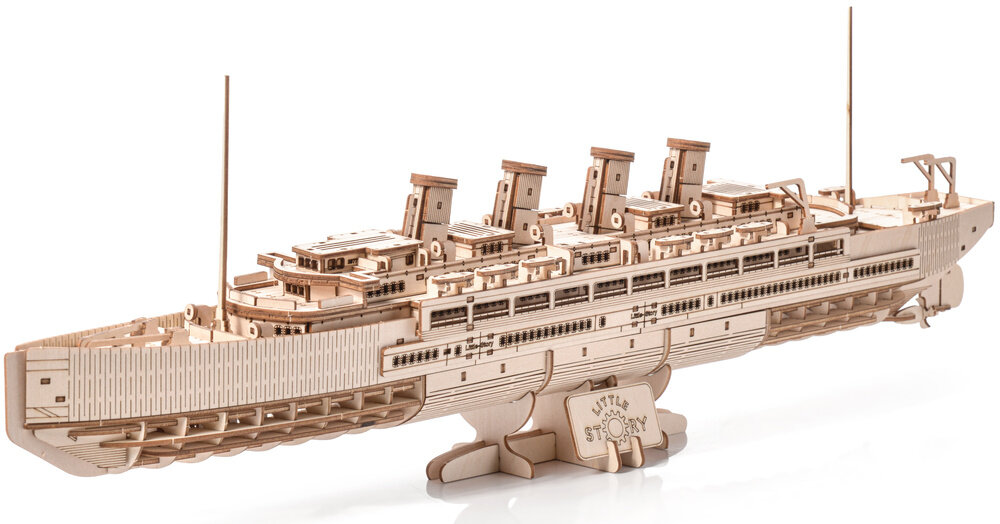
Wooden 3D puzzle - Cruise ship Little Story E026
- Number of pieces: 366
- Assembly time: 3 h
- Difficulty: 4
Frequently asked questions
Can I force a piece that will not go into its slot?
No, a thin piece can break. First check the step in the instructions, which way the piece faces and whether a piece from the previous step sits crooked underneath it, and only then gently sand small bumps on the edge.
What should I do with a keel that is bent before I start?
Do not carry on with it, because the alignment of the whole hull depends on the keel. Ask the manufacturer for a replacement part; the contact details are usually in the instructions.
How can I tell that a mast stands straight?
From the front or the back, it should stand upright and in one line with the keel. From the side, compare its tilt with the side view in the instructions, because masts can be meant to lean slightly backwards.
When should I fit the small parts on the deck?
In the step the instructions set. Before it, check the symmetry of the hull, the joints, the tall parts and the moving parts, because small parts are fragile and break easily during further work.
Do I need glue for a ship model?
It depends on the kit, so check the instructions. If you use glue, try the pieces dry first and check that the bulkheads are square before the glue dries.